Sunday, February 6, 2011

The Dreaded XKE Fuel Tank

I worked late last night on the E-Type.  I slept in for a while this morning.  When I went out to the garage, the first thing I did was clean all the glass from the gauges and carefully wrap them and put them in baggies. I bagged the instruments and the switches and put it all in a box and shelved it until I can get the stuff I need to recondition them from Nisonger. Stuart came over shortly after I got into the garage to work on his Stag.  We had a cup of coffee, and about that time Rodney called and said he was going to come over to help with whatever was needed.  When he got here, we decided to install the fuel tank in the E-Type.  Now the fuel tank in an E-Type is legendary for being extremely difficult to take out and put back in.  When the Brits built the E-Type, they very obviously start at the fuel tank and build the rest of the car around it.  The hole in the rear that it goes in is slightly smaller than the tank, there are 2 hoses that need to be hooked up that can only be reached with one hand by anyone with hands larger than a 3 yr old.  Neither of the 2 hoses really fit the pipe where you have to hook them up.  If you don't put it back in in a very exact sequence, you just won't get it installed, and even then, it's still not a sure thing.  To make matters worse, we spent the better part of an hour just looking for the bag of hardware and rubber pads and the bracket.  We wound up digging the old stuff off of the 69 "Katrina" parts car that we bought a couple of years ago.  The stuff was still pretty nasty, but we cleaned them up and proceeded. We then put some of the remnants of the KoolMat on the floor where the tank would sit.
Amazingly, the tank dropped right into place.  But bolting it down and hooking up the hoses was a totally different matter. 
There is a big hose that is very short, about 4 inches, that connects the filler neck on the side of the car to the filler hole in the tank, we will hook that up last.  Then there is a smaller hose that is a tank vent and hooks to the tank and to a vent pipe in the upper part of the filler neck.  We could get half of the job done before we put the tank in, but the filler neck end was up in that hole where you can only get 1 hand.  I let Rodney handle that hose.  He did a stellar job.we clamped it and started on the bolts.;  The first one went in easily.  The next one was not so easy, we had to remove the first one and I had to run a tap through the 2nd one to make sure that the threads were OK and there was no paint in them keeping us from getting it to start.  Once that was done, we managed to get 2 mounting bolts in.  Then the third mount came. With this one you have to mount the bracket to the rear bulkhead and then start the mounting bolt.  This too was a struggle.  About this time I moved a towel looking for something and found the bag full of the original hardware...  it was no more than a foot away from us the entire time we were working on the tank.  With some difficulty, we got the third and last mounting bolt in.


The tank was mounted!  Now I had to deal with the filler hose.  Another 30 minutes and I had it...  Rodney put the hose clamps on and we were done. Altogether it was probably only a 4 or 5 hour job, but it's done, thank goodness.
(and many thanks to Rodney)


One other thing,  I had ordered a new Data Plate.  It's supposed to be a duplicate of the original.  It came today.  I've gotta say that I am VERY disappointed.  Something about it just didn't look right to me.  I pulled out the original one to compare.  First, it was was not even the right size.  It was a quarter of an inch shorter than the original and the font and spacing were totally different.


Saturday, February 5, 2011

Radiator and Instrument Panel


I got up this morning and the first thing I did, after making myself a cup of coffee, was to go pick up Stuart and go look at a Triumph Stag that has been sitting up in a garage for quite sometime.  To make a long story short, the woman that owned it HAD to get rid of it because she was about to move to Colorado.  It was in rough shape in some ways but in others it was really good.
Since he is in the middle of restoring one and needs a number of parts, Stuart negotiated a deal to buy it.  We'll go pick it up Sunday.  After I got back from that early morning excursion, I got busy in the garage.  I couldn't wait to see how the aluminum radiator I purchased from Summit Racing, and the high power, low wattage fan and shroud was all going to fit together.  I got to work on that and sure enough, just like Ray Livingston said, it all fit fine.
The only minor issue I see is just finding an aftermarket flexible lower radiator hose, but that shouldn't be much of a problem.   The whole thing is just fitted, I'll have to take it all back off when I start to put the engine in if for no other reason but to allow myself better access. It's pretty easy, 4 bolts and it out.


Next, I pulled the instrument panel off the shelf and after taking a really good look at it, I thought, "Ya know...  I have gone this far with this little 'clean-up' project, that I should repaint the bezels on these gauges.  I took them off.  I noticed that the vinyl covering was extremely brittle.  Heck. I'm going to replace it too.. I'll order it tomorrow.
I took the bezels off of the 4 small gauges, which was no easy task, but with Stuart's advice and oversight (did I mention that he had come over to continue working on his Stag) I got the little bas....  uh...  bezels off.  The rubber that isolates the metal ring from the glass was shot..  all hard and brittle..  it'll have to be replaced.  At some point during this it dawned on me that these bezels have been on these instruments since I was 13 years old, no wonder they are all dried up and brittle!!!  Seeing this I figured I needed to do the same thing to the speedometer and tach.  The condition of the rubber rings on these gauges was worse.
They just crumbled and fell on the
floor in pieces.  Sigh...  "I'll just order some new ones", I thought.  "I don't have any idea if you can even get these any more.  I think possibly Nisonger Instruments would be the only possible place."  I checked online and it appears that they do carry just what I need.  no prices on their website, I'll have to call them Monday. I had to wash up then, Donna and I were going to meet Rodney and Melissa and Mike and Kristine at Papa's for pizza...  our usual Friday night group (the Darby's couldn't make it, they had out-of-town guests).  When I got back,  I prepped and sprayed the bezels, they are drying now.  I'm going to pack it in as soon as I lay in some pictures here.  I'll figure out what I'm going to do tomorrow, tomorrow.
You can see the crumbs of rubber here


The instrument panel is solid copper


I'm working on cleaning it up, it was pretty nasty also

Friday, February 4, 2011

Starting on the wiring

 Today was a good day,  Stuart came by to take a look at his Triumph Stag that has been staying in my garage while he has traveled the world with his work for the last 6 months.  He's fired up and ready to get busy restoring it.  He and I chatted for a little while then he went about working on the Stag while I continued my work on the E-Type.  I accomplished a good bit today.  I pulled the main bonnet wiring harness through this little bitty hole made even smaller by the fact that I had to put the weatherproof grommet in the hole first.  Inch by inch I finally got it shoved through, everything seems to line up with where it should be in the engine compartment.


The old harness
  I seemed to be missing something... I searched, then checked the invoice where I had purchased the harnesses...  I had failed to get a new Dash harness..  this is the harness that has all the lights, fuse connections, gauges etc.  I don't know if, at the time, I was thinking that I would just make do with the old harness or if I just failed to order it.  Nonetheless, I have to order one, the old one is much too stiff and discolored.  I'll get on that tomorrow.

 At that point, Rodney came in to hang out and help with whatever we were doing. I couldn't find part of the harness  I asked Stuart to take a look at the wiring diagram and help me see how the bonnet harness would hook up to the 2 rear harnesses. We (Stuart) worked at it and figured most of it out. Rodney and I proceeded to connect the inside portion of the harness. Hopefully tomorrow I can find a dash harness that isn't too outrageously expensive and/or isn't 4-6 weeks away.  With that discovery, I could go no further at the dash.  


After Rodney and Stuart left, I went ahead pulled the wires through the bodywork to the rear.  For some strange reason, Jaguar chose to route the wires going to the right side of the rear (right side taillights) down the passenger side of the car and the ones going to the left side of the car (left side taillights, fuel sending unit, fuel pump and back-up light) down the driver's side...  then both harnesses meet in the rear, not more that 3 feet from each other...  seems to me that they could have easily all gone down one side.  But what do I know?

After doing that, I had some more time to kill and was on a roll, so I went forward and started mounting the radiator tank and bracket.  Now the ENTIRE front of the car is held together with 5/16" bolts, that's what holds the engine, front suspension, huge bonnet and everything else that is in front of the driver to the part containing the driver... So, explain to me why 5/16" bolts are strong enough for that, but it takes to big honkin' 3/8" bolts to hold the little radiator tank and bracket on!  Who knows.  I'm sure that there is probably a perfectly good explanation for it.   While I was there, I wanted to see how the fan motor that I got from CoolCal was going to fit so I got it out of its box and started to mount it... one thing that they didn't mention was that to mount it you either had to take the steering rack loose or take the motor and it's bracket completely apart to get it to go on the picture frame mount. I chose to take the bracket off of the motor.
Not a huge problem, and it's mounted.  I'm sure I haven't thought things through entirely and I will probably at some point in the near future, have to remove one or both the motor and the steering rack to install some little bracket or something.  I'll cross that bridge when I get to it...  for now, I'm going to bed. 


Tuesday, February 1, 2011

Making Headway

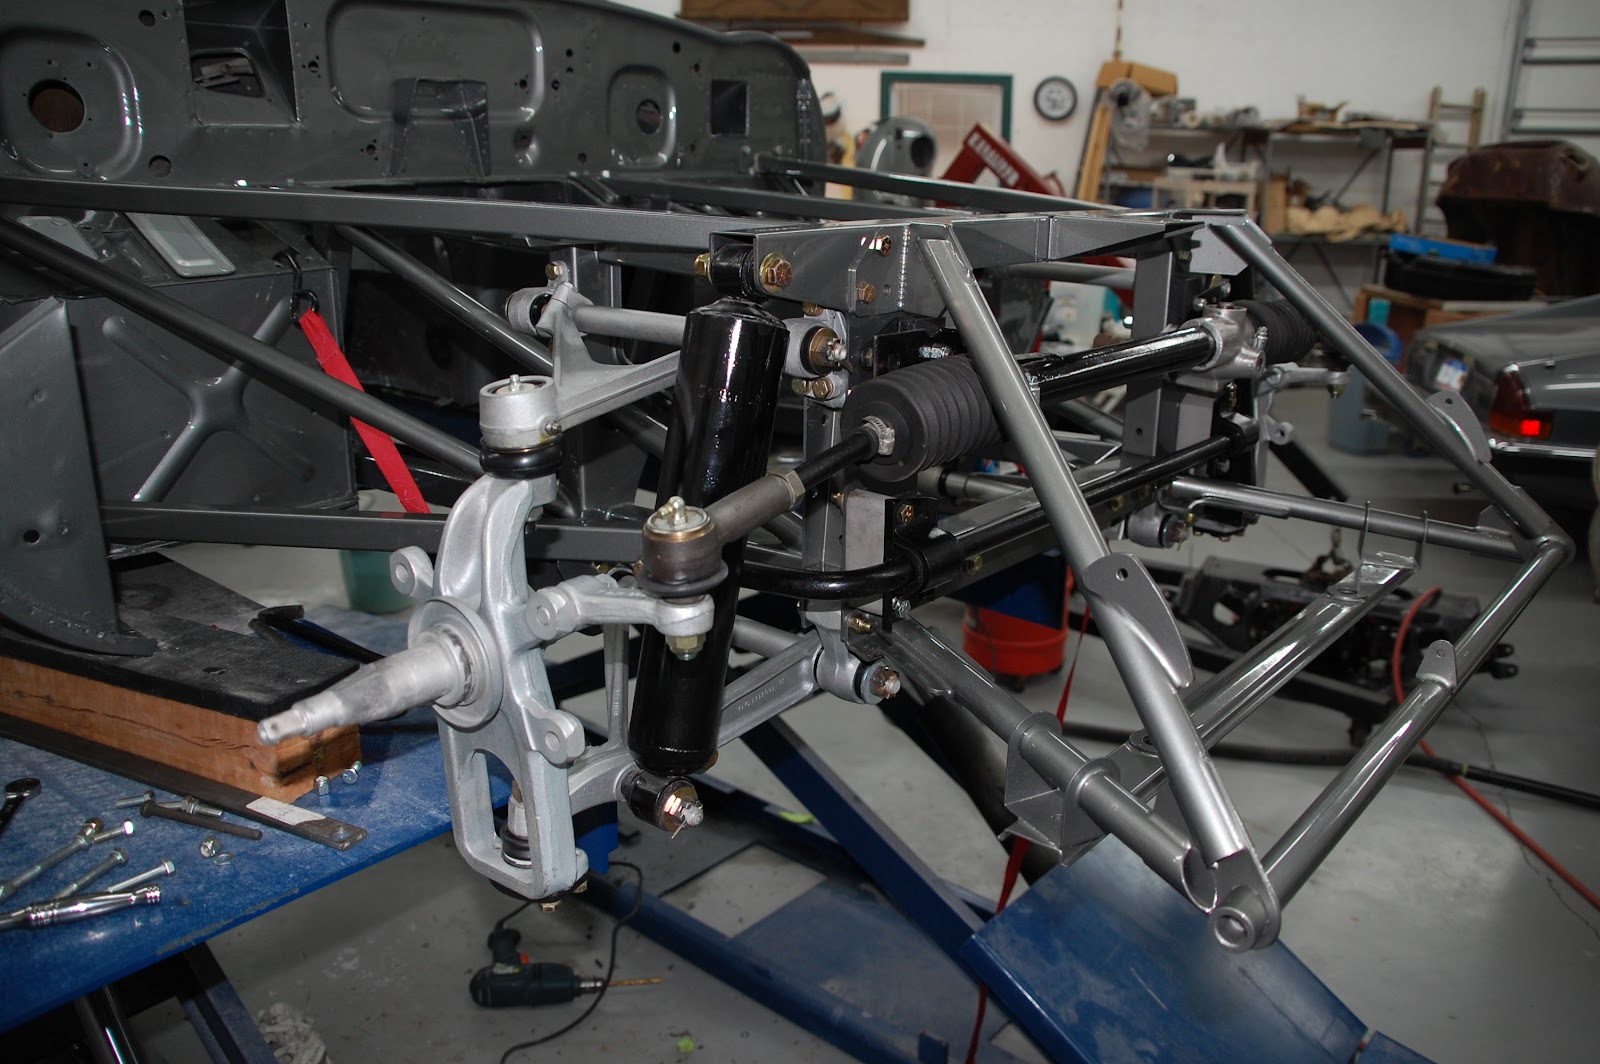
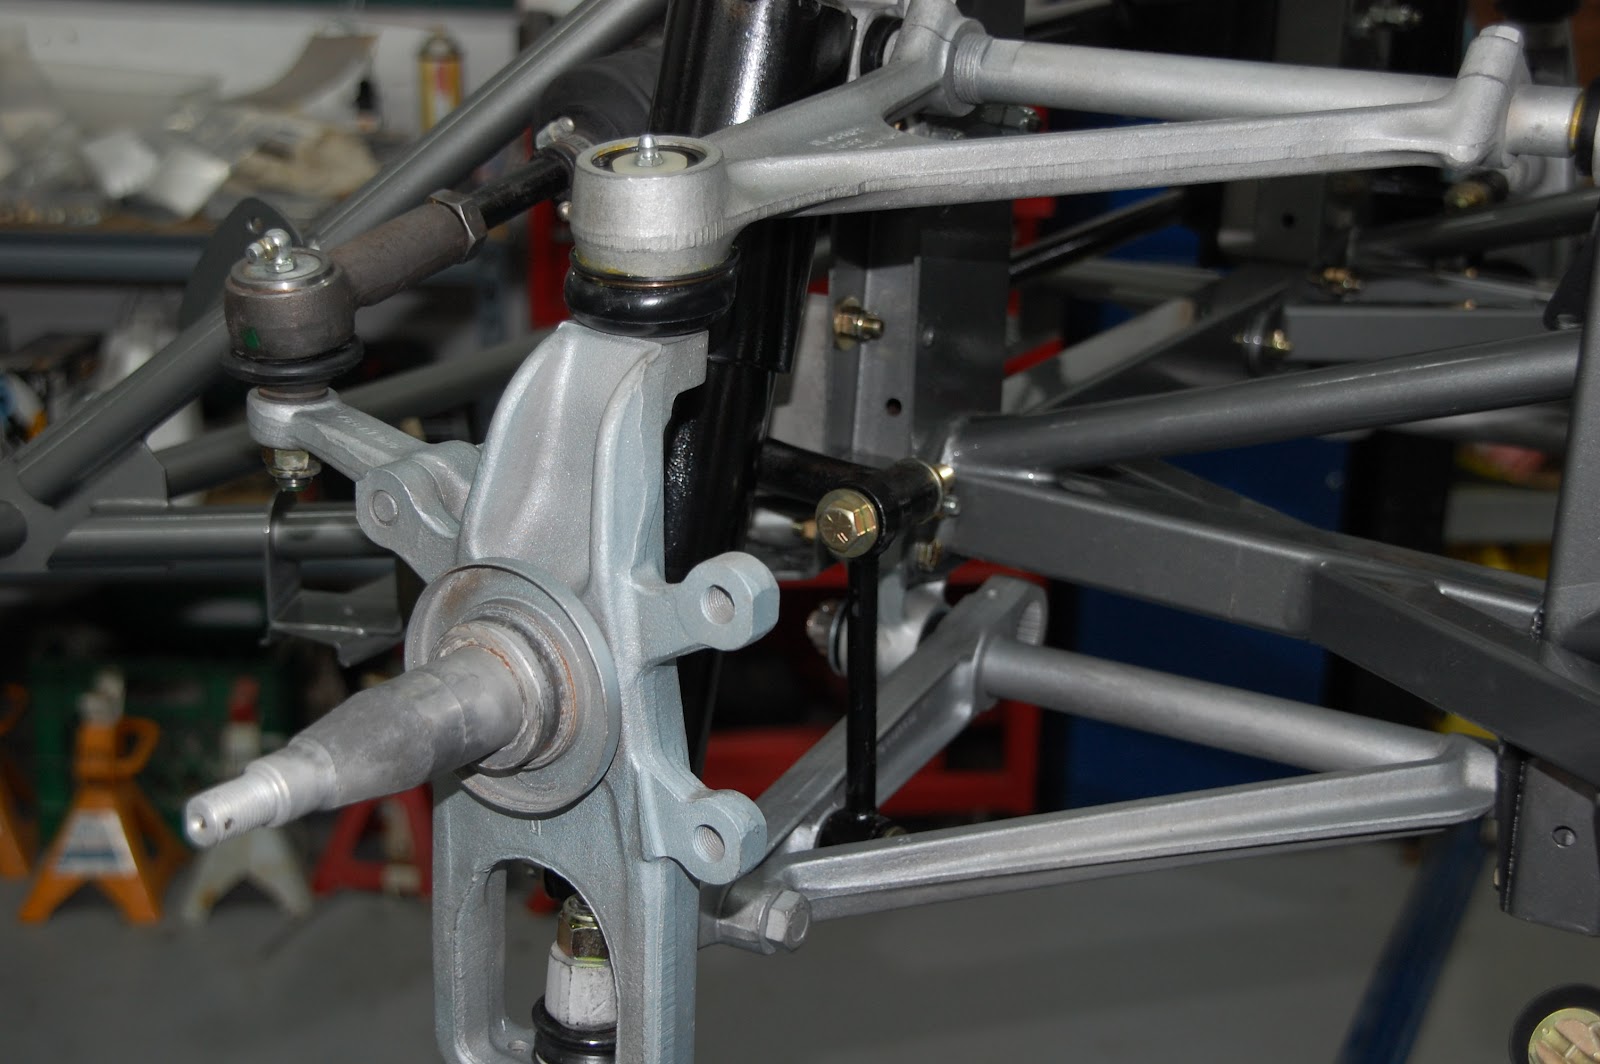
Over the last couple of days I have made what I would call some significant progress, With Rodney's help, I have gotten the front suspension, steering rack and anti-roll bar all fitted, knowing that I might have to remove some of it to make adjustments and such. I mainly wanted to make sure that I had all the pieces and that I knew how it all went together. I have new front shock absorbers, but they didn't come with the lower bushings, so before I can install them, I will need to find some.  I'm probably not going to replace the rears at this point, they are just too expensive, and the ones I had seemed pretty good.  I test fitted the torsion bars, I think that's not going to be a big problem either.  I guess the next step is going to be to start on the wiring.


Saturday, January 29, 2011

Waxoyl!!!!


If you've never used Waxoyl, it's an experience that everyone needs at some point.  Waxoyl, for those who don't know, is a wax that has, evidently, a very low melting point used to coat the inside of any closed areas that could be subject to rust.  You have to heat it up by putting it in the oven or on a hotplate...  or letting the can sit in hot water, which is what I did.  It was a learning experience.  I borrowed a can containing about 2 liters from Mike Darby and the applicator gun and hoses.  I heated the can like instructed, but I failed to warm up the frames at all.  it was kinda chilly in the garage and I think the Waxoyl just clotted up inside the frames..


To make a long story short, I made a mess, finally got the frames coated inside, I believe, by sitting them out in the sun the next day.  After I poured the excess Waxoyl out of the frames, I started installing them on the car.


 That made me feel really good..  I was finally making some noticeable progress. The Frames are new from E-Type Fabs in the UK and they fit PERFECTLY!!!.  There is a guy named Uryk that owns the company and is an absolute artist.  Whenever I look at these frames I marvel at the amazing perfection with which they are put together.... He is also a first class individual... so much so that I have now entered into a business venture with him to give E-Type Fabs a better presence in the U.S.  E-Type Fabs US .  I'm excited about the things to come with this relationship.


Rodney McDonald came over today and helped me continue assembling things.  We got the frames all fitted, sorted out which bolts went where, I'm not totally sure that I have them all right just yet, but I'm getting closer. We got the steering rack, sway bar and lower A-frames and their bushings mounted.  He was a huge help (he promised me that doing the interior was his long suit so I can't wait till we get started on that, because I'll need some expert help)  Maybe it doesn't sound like we did much, but I feel like we accomplished a lot.  It's starting to look like a car... and a beautiful car at that.

Thursday, January 27, 2011

Rough day in the garage

Have you ever spent half the day looking for something that you JUST  HAD IN YOUR HAND YESTERDAY????   I did that today.  Yesterday I found a bracket that goes under the bonnet. I wasn't quite ready to install it at that time so I put it somewhere so I would know where it was when I needed to install it.  Yeah, I spent most of the afternoon looking for it today. I couldn't find it so I just finally gave up and started on something else.  Remember that B-Post seal I spent so much time describing the other day?  I couldn't figure out why I had 2 extra seals.  I called BAS, the people that make premium Jaguar interiors and from whom I happened to have bought my interior and rubber body seal kit.  The guy there didn't know where the other 2 seals went either.  I spent quite a while looking at pictured of restorations on a number of websites..  I finally discovered where they went and also discovered that the ones I had installed in the B-Post were in backwards.  So I proceeded to remove them and re-install them correctly.  I fixed the one on the driver's side, then got a phone call.. and then fixed the one on the passenger side..  or so I thought.  Turns out, I reversed the driver's side seal twice and didn't touch the passenger side one.  So in essence, nothing changed and I had to do it all over again.  The two other seals go on the back side of the window frame...  in case you were wondering.
I got that project finished and went back to the bonnet for one last look for the bracket.  I looked down and there it was...  inside of the area behind where the headlight goes.  I'll install it tomorrow... if I can find it again.

Monday, January 24, 2011

Rubber Seals


Today, the first thing I did when I got out to the garage was to pick up all the tools and put them where they belong.  I had stuff scattered all over the place. Then I started working with the rubber seals that fits in the B-Posts to seal the back of the window frame when the door is closed.
This is a short piece, about a foot long, that fits in a groove in the B-Post. (they sent me 4 of then, but I can't figure out where the other two go, if anybody knows, give me a holler) Simple enough you say?  I thought so too. But it proved to be a little more than I had thought. The rubber has to be slid into a slot and if it would slide past the beginning of the slot, it would have been a piece of cake.
Unfortunately the Brits didn't take into consideration that someone one day would want to replace this.  With the help of a flat head screwdriver, some Windex, and a hard piece of plastic, I managed to poke it into place without doing any apparent damage to either the rubber or the B-Post.  I then decided that it would be a good idea to put some generous amounts of tape on all the edges of the body and in areas where I would be working to protect the gorgeous paint.
I then installed the cantrails that hold the rubber gasket around the rear quarter windows.  Using the same technique as before, I was finally able to fit that seal as well.  I polished the B-Posts and fitted them to make sure everything was in order. 


I am a little disappointed with the job that this outrageously loud vibrating thing does on the nuts and bolts that I put in there.  I think I could do just as good of a job with a bench grinder and wire wheel, but I'll give it a little more time.  I probably have the wrong kind of media in it. 


While I was doing all that I also watched the NFL playoffs...  I wasn't too concerned with who won, since the Saints were out of it.  It looks like it's going to be the Packers and the Steelers, two of the really old teams, should be a good game.  Too bad it's being played in Dallas.