Sunday, August 21, 2011

Moquette... Hardura... Cantrail... Brits do speak a foreign language

I'm pretty tired, I have accomplished a good bit this week even though I have had a fair amount of work to do on my "real" job.  Working on the upholstery is not something I have ever done and I don't feel real comfortable doing it.  I have been plesantly surprised at how it is turning out.  I'm not going to spend a lot of time typing here tonight, but here are a number of pics showing what I have managed to accomplish.Today was a long day.


Upper Cantrail
This cover goes over an access hole in the left rear wheel arch.  It gives access to some of the wiring and the fuel filler tube.

This is a little pocket that was in the quarter panel one on each side behind the seats. I discovered them when I pulled the old upholstery out.  I just HAD to use them but to do so I had to modify the two quarter panel pieces.  Evidently only the early E-Types had them.  These were evidently covered over by a previous owner.


Lower Cantrails
All of the panels are covered
Rodney has been a tremendous help.

Installing the Moquette on the wheel arch.

Maybe I can finish it tomorrow after I help Rodney install his garage door opener that got hit by lightning.

Sunday, August 7, 2011

I think the Headliner is finally finished.... except for the dome light.

Rodney and I got an early start this morning.  First I met him at Mike Darby's for the final adjustment on his newly rebuilt SU carburetors for his MGB.  After that and some all important visiting was completed he and I stopped at Kraver's Seafood Restaurant for a quick lunch, then on to my house to do some more work on the interior upholstery on the E-Type.

Rodney's putting the final bolt in the fuel tank
We decided that putting the fuel tank back in ( had it in once but had to remove it to put the rear bumpers on) would be the next thing to do before we got too carried away with upholstery.  It didn't go in quite as easily as it did the last time we did it, but after a little struggling and a few cups of coffee, we got it back in and connected.

We then started working on the final stages of the headliner. We barely got started good before we realized that it was time to get ready for a little field trip to Pensacola to Mini of Pensacola's 2nd birthday party. We were going to ride over in Rodney's classic Mini, but the heat and humidity forced us to opt for something that had air conditioning.  After the party, we stopped for a quick "all you can eat" Barbeque dinner and headed back to Daphne. The sun was still up and we decided to get back to work on the Jag. 

Rear brackek for the trim wool
Gluing down the skirt
Rodney drilled and mounted the brackets at the rear of the ceiling that had been missing from my car but were fortunately on the old '69 parts car we have.  I removed them the other day and cleaned all the rust off and painted 'em.  These brackets allow you to tuck the headliner cloth into the gap where it is grabbed by some teeth in the bracket, holding everything good and tight.


Then I got on my back in a somewhat less than comfortable position in the car to glue down & fasten the final parts of the headliner down.  The last thing that needed to be done was neatly lap the two ends of the wool together with a nice fold and mount the dome light.  After scurrying around looking for the dome light fixture, Rodney finally found where I had hidden it and handed it to me. I inspected it and realized that I should have had it re-chromed when I did the rest of the stuff... "forget it, I'll use it like it is" I thought.   I took the lens off of it and promptly broke it.  Actually it was very brittle plastic and pieces were breaking off of it.  So much for that light...  I'll have to order a new one on Monday.


"Thumbs up" for the Driver's side
Finishing up the passenger side.


The dome light goes in the middle.
The bottom 2 inches will be covered by trim
I'm really happy about the end result.  For never having done this before, I think that, with the tremendous help of my previously mentioned "crack team of old farts", we did a pretty good job!!


Friday, August 5, 2011

The Headliner Saga Continues

I have managed to get the wool skirt covering installed in the grove around the top of the cantrail.  This is a piece of very high quality English wool, matching the wool that we just installed on the ceiling.  There is a rubber hose sewn in a hem on one side of the wool that is supposed to be squeezed into a tiny groove around the ceiling.
Just getting it started
This wool covers the area between the roof and the and the windows.  Stuffing the hose into the groove was, to say the least, difficult. I spent most of the day getting it done without ripping the wool.  Laying on my back with all sorts of protrusions poking me in the back was definitely not comfortable.

Then working with my arms stretched out above me was tiring.  Am I whining?  You better believe it, but I did managed to get it done.  Now I have to work my way down installing the rest of the interior. I was by myself, so nobody took any pictures of me actually working...  but I promise I did.
Whew!!  I honestly didn't think I get it done.
One side finished


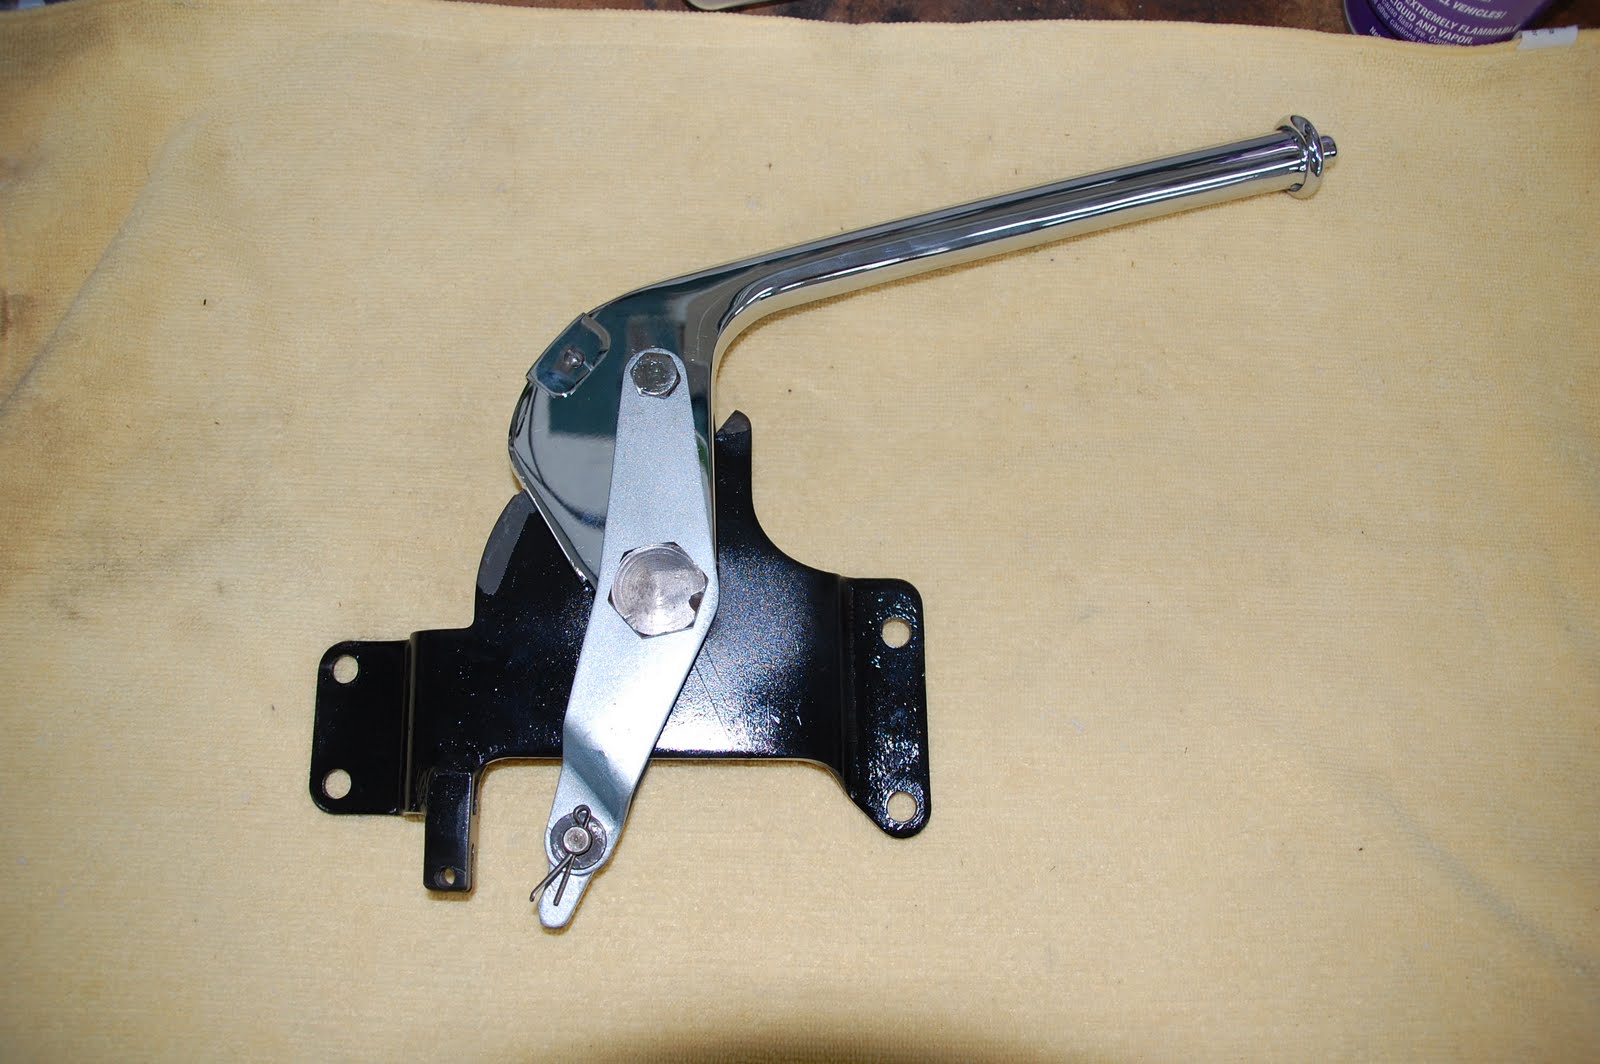
One more thing I managed to finish was the handbrake. It's a pretty complicated little bugger. It's kinda like building a ship in a bottle with all the pieces you have to get aligned inside of the handle through a small hole in the end. I know, the one piece on the side is supposed to be chrome...  I forgot to send it to the chrome shop with the rest of it...  It doesn't show anyway, so I just coated it with a Cad spray from Eastwood. It should lasts another 40 years or so.


Rodney came over tonight and he and I started measuring and fitting the moquette on the wheel arches.and making a plan of attack for the rest of it.  In case you aren't aware of it, it's rumored that Rodney is an "expert" at interiors, even if that rumor isn't true, I'm still very appreciative of his help.  The same is true for many of my friends. Mike Darby, Stuart Waddington, Michael King, Noel Eagleson and many others.

My vinyl is supposed to be here tomorrow according to UPS.  We'll see.  If so, I should be able to get a lot done this weekend.

Sunday, July 31, 2011

No humans were injured during the installation of this headliner.

Test fitting
I finally convinced several of my good friends to come over and help install the headliner in the Jag.  It is notorious for being a difficult job. Rodney McDonald, Mike Darby, Noel Eagleson and Michael King were all on hand ready to tackle this task.
Our "Inside" guy
Trying to eliminate any potential scratches

 I had the glue, Mike furnished the spray gun (and a fair amount of experience), Noel was the "inside guy", Michael, Rodney and I were in charge of getting itinto the car and lined up to the center line.  I must say, it went off without a hitch. Mike first started spraying the glue and immediately realized that we needed to thin it significantly.

Mikes new XK, parked behind my XJS
Not having any MEK (thinner) Michael and I took off to Lowes in his newly purchased Jaguar XK convertible. Probably a little overkill for a quick trip to Lowes, but well worth the ride nonetheless.  When we returned, Mike, was installing Rodney's newly rebuilt SU carbs on his MGB, which was on the list of things we wanted to get accomplished today anyway.  I added the thinner to the glue. 
When Mike was through with Rodney's car, he started spraying the glue on the underside of the roof in the E-type. Once that was complete, he sprayed it on the foam side of the headliner.  We then took a break while the glue dried to a tacky feel.


Once we felt like it was right, we all grabbed a corner, Noel assumed his station inside of the car and we carefully passed it through the rear hatch. 

Aligning the headliner to the center line.

 
 With Rodney in the front of the car, standing where the engine goes, he could easily manage aligning the front edge with our center mark and I was able to align the rear.  Mike and Michael kept the sides from sticking to themselves or anything else and Noel began gently pressing down the center line from fore to aft.

How many old farts does it take to do a headliner?
 Once that was done, he began to roll, using a small foam paint roller out from the center to each side. It was immediately obvious that the glue we had was some kind of supped up magic glue that once stuck, it was NOT going to allow for any adjustment.

Noel using the foam paint roller

Me and my Exacto knife
Fortunately, this crack team of experts had it perfect the first time. All that was left was to trim the edges with an Exacto knife and press it under the cantrail.  Even this turned out to be much easier than I thought it would be.  I had recently bought some plastic tools from Harbor Freight which turned out to be the perfect thing to use for this task. The most amazing part is that I used that Exacto knife like a surgeon but never drew any blood.  Something very out of character for me.


Rodney's MGB was running again and my headliner was in, all in all, it was a good day and a lot of fun hanging out with good friends..  so good, in fact, that we ordered pizza and opened some beer.