Wednesday, February 1, 2012

First Place Trophy

I know, I know...  it's been a LONG time since I have posted any new entries to this blog  I have no really legitimate excuses, it's certainly not because I haven't had anything to report. In my last post, I had almost finished the interior upholstery. That was in late September 2011.  The next thing that occurred in my garage was the annual Ice Cream Social that we host for 3 local British Car Clubs.  Donna and I prepare 8 gallons of homemade ice cream, many people bring their favorite toppings and cold drinks are provided by the South Alabama British Car Club.
  This year we had nearly 60 people to attend.


The Yard was full of British cars from Mobile, Pensacola, FL, Orange Beach  and a number of other places in our area and nobody went away hungry.


Just 3 weeks later, the South
Alabama British Car Club had their annual British Car Festival.  As I had still not received my new 5-speed transmission or rear brakes, I installed the rear suspension, sans brakes, and put 4 wheels on the Jag.


Two days before the show, a number of club members met at my garage to stuff the Goody Bags.  Afterwards, we shoved the Jag on a trailer.


The Bonnet stayed home and it was my intention to show people an E-Type like most of them had never seen.  No bonnet and no engine.  I removed the front wheels to show off the beautiful E-Type Fabs front brake calipers and disks.  i have to admit, it must have been a good idea, I had more people interested in what I had done and interested in seeing the "guts" of an E-Type that it made me think that maybe I should just stop here....  Not a chance!!!   I was awarded the First Place trophy for the "Restoration Class"... there were only 2 other cars in the class, but one was a magnificent MG-TC, so I was very happy


No sooner did I get the car back in the garage after the show and direct my attention toward earning a little money in my regular, job that I was hosting another SABCC event.  For the last few years, and with the help of a few members, I have converted my garage to an almost proper movie theatre, complete with a 12 ft. screen, a big popcorn machine candy and drinks.  We usually have nearly 50 club members come to watch the show and enjoy an evening out with friends and all they have to bring is a chair.  You can read all about it on Rodney's blog.  Once the smoke cleared from that event I was able to do a little more work on the Jag.

Fuel Line on the right.
Sticking out my tongue helps
I got the fuel line run from the tank to the front of the car.


Then I started tackling the brake lines.  I had Rodney's help getting this done and since it was the first time for me to bend brake tubing, I took my time. 
Stainless Steel Flexible brake line at rear


We were so pleased with the outcome that we felt that we deserved  to have a glass of Single Malt afterwards.

Tuesday, September 20, 2011

Getting The Doors To Fit


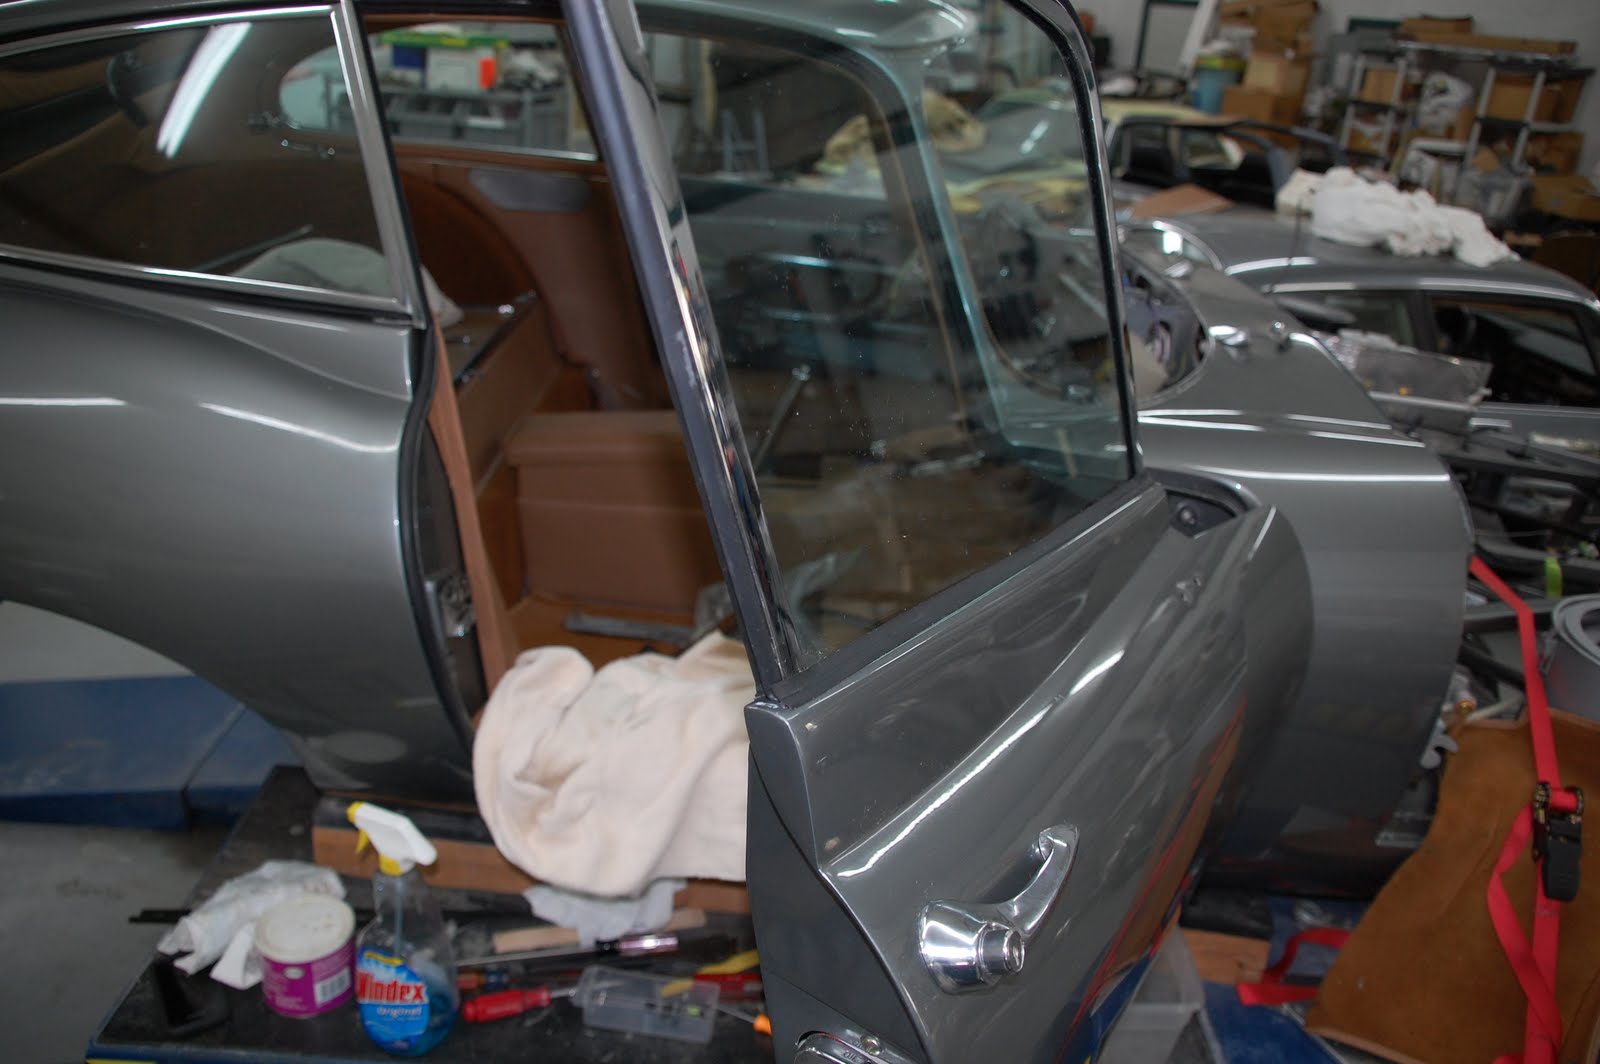
Putting the doors back on an E-Type is a somewhat daunting task.  Even though a test fitting was done back before the car was painted, it still requires a lot of patience and some minor adjustments and, if possible, some help from a friend or two.  First of all, the passenger door was off of our 1969 parts car. It was in much better condition that the original door, which had obviously been in a wreck and then filled with Bondo.  Ther is only one difference in the 69 door and the 64 door that I could see.  The 64 had an extra hole near the latch where an alignment post comes through.  Evidently, this was not a requirement in 1969... seems odd to me.  I had to make a template and then drill a hole in the door to accommodate the alignment post.  I had 3 sets of eyes watching, Rodney's, Mike's and mine.  Fortunately it and its accompanying screw holes were close enough to only need a little attention with a rat tail file. 


My garage is a mess, I have upholstery scraps, foam scraps, boxes and all sorts of other stuff scattered about. I have work going on on 3 different tables.


I got the rubber seals installed in the door jams with little difficulty, and now it was time to mount the doors.  Mike helped me mount the driver's door.  We took turns holding the door and trying to get all the hing bolts started.  They are positioned in a location where you can barely get 2 fingers on them.  After a number of tries, we finally got it hung.  I managed to get the passenger door hung the next day with not nearly as much effort for some reason.  Probably because we took a good bit of time before painting to make sure that the 69 door would work.
I was anxious to make sure that my little modification to the 69 door would work properly, it did.  I only had one minor problem with a screw that was 1/16 inch too long.  Once fixed, the door worked nicely.  I then installed the rubber seals into the window frames using a generous amount of Gojo to lubricate the seal so it would slide into it grove.  
Having gotten all of the frame seals in, I put new felt into the channel where the window slides.  On a recommendation from Mike Dollard at SNG Barratt, I used the Series 3 felt because it's already shaped in the form of a U and is much easier to install .  I set about installing the windows and their winding mechanisms.  Then I had to adjust he window frames so that the door would close and seal up... sort of.  This all went surprisingly easy too..  but it still took the better part of a day. 


 With the window and door latch working, it was time to mount the door panels.  They are kind of fidgety things, and putting the re-covered 64 panels onto the door from the 69 meant that I had to drill several new screw holes to get everything to fit. Opening and closing the door carefully while fitting everything is a much to make sure that nothing is scraping the upholstery inside.
 I finally got the passenger door finished, opening and closing and with a window that will wind up and down.  Whew!

Now the driver's door.. it went much easier because not only was it the same door and door panels that came off of the car, I had the benefit of experience on my side now. I got it done is probably one third the time.  Let me add here that the experience I gained back in college while working at Freeman's Sports Cars, the local Triumph, Rover, Land Rover dealer I had little trouble with the door and window handles, but I can imagine that these things have given many people fits.


Now that both doors are done, and just about all of the rest of the interior is complete, I continue to do all the little things that can be done before the engine goes in.


 I got the new radio in from Retro Sound.  I installed it into the radio console, put the new "original style" speakers from S/M Electro-Tech.  They have very small magnets, just like the originals but the magnets are Neodymium magnets (commonly referred to as super magnets) and are 1/10 the physical size of round ceramic magnets found on most modern speakers but provide the same or higher field strength.  Side by side, they look just like the originals.  The radio, in addition to AM/FM, it also has an analog AUX input and a USB/SD card adapter for playing MP3 files and it comes with a remote control!!!  Pretty cool radio.  I have it hooked up to a battery on my workbench and have been listening to my tunes.


 I purchased two new exterior rear view mirrors a long time ago.  I put them on with no problems at all.  The holes for them had been drilled before the car was painted.

Now that I had done all I could with the interior, I mounted the rubber bonnet seals onto the mudguards, again, this went fairly smoothly.  I still have to fix the pieces to the inside of the bonnet. That'll come later.


Masking the piping
Half sprayed

Earlier today, I went up to the shoe repair place to pick up a pair of shoes that Donna was having repaired.  While I was in there it just dawned on me to ask about dying leather.  I had resolved myself to the fact that I would probably have to get the seats re-covered or I would never be happy with them.  They had the old seat covers on them but re-covering them is a fairly expensive proposition.  I asked the guy there about dying the seats in my antique Jag.  He said that dying was no problem really.  He then took me around the corner in his shop and showed me a rack that much have had a hundred different colors of dye.  I saw several that had possibilities.  I told him I'd be right.  I returned with a seat cushion and the piece of leather that I had cut out of the radio console to install the radio.  He took me to the back of his shop and 
Compare old on left
One seat cushion done.
we tried several colors on the underside of the cushion, none were perfect, but one was close.  I figured "what the hell", my choice was to spend $18 on spray dye or spend $1000 getting them recovered. I opted for the dye route. 

At his suggestion, I cleaned the leather good with rubbing alcohol, let it dry good, masked the piping and began spraying.  
 
The color isn't perfect, but it's a lot better than it was and the leather looks brand new.  I was definitely impressed.  At this point, I'm calling it  good.  It will remain to be seen if I am ultimately happy with the color.  If not, I'll just spend another $18.


Monday, September 5, 2011

Filling Some of the Big Holes

Putting in the final cantrail screws.
I've had a very productive week and with it being a long weekend, I managed to convince Rodney that he needed to be over here helping me.  We finished up getting the cantrails installed and they look very good, if I do say so myself.
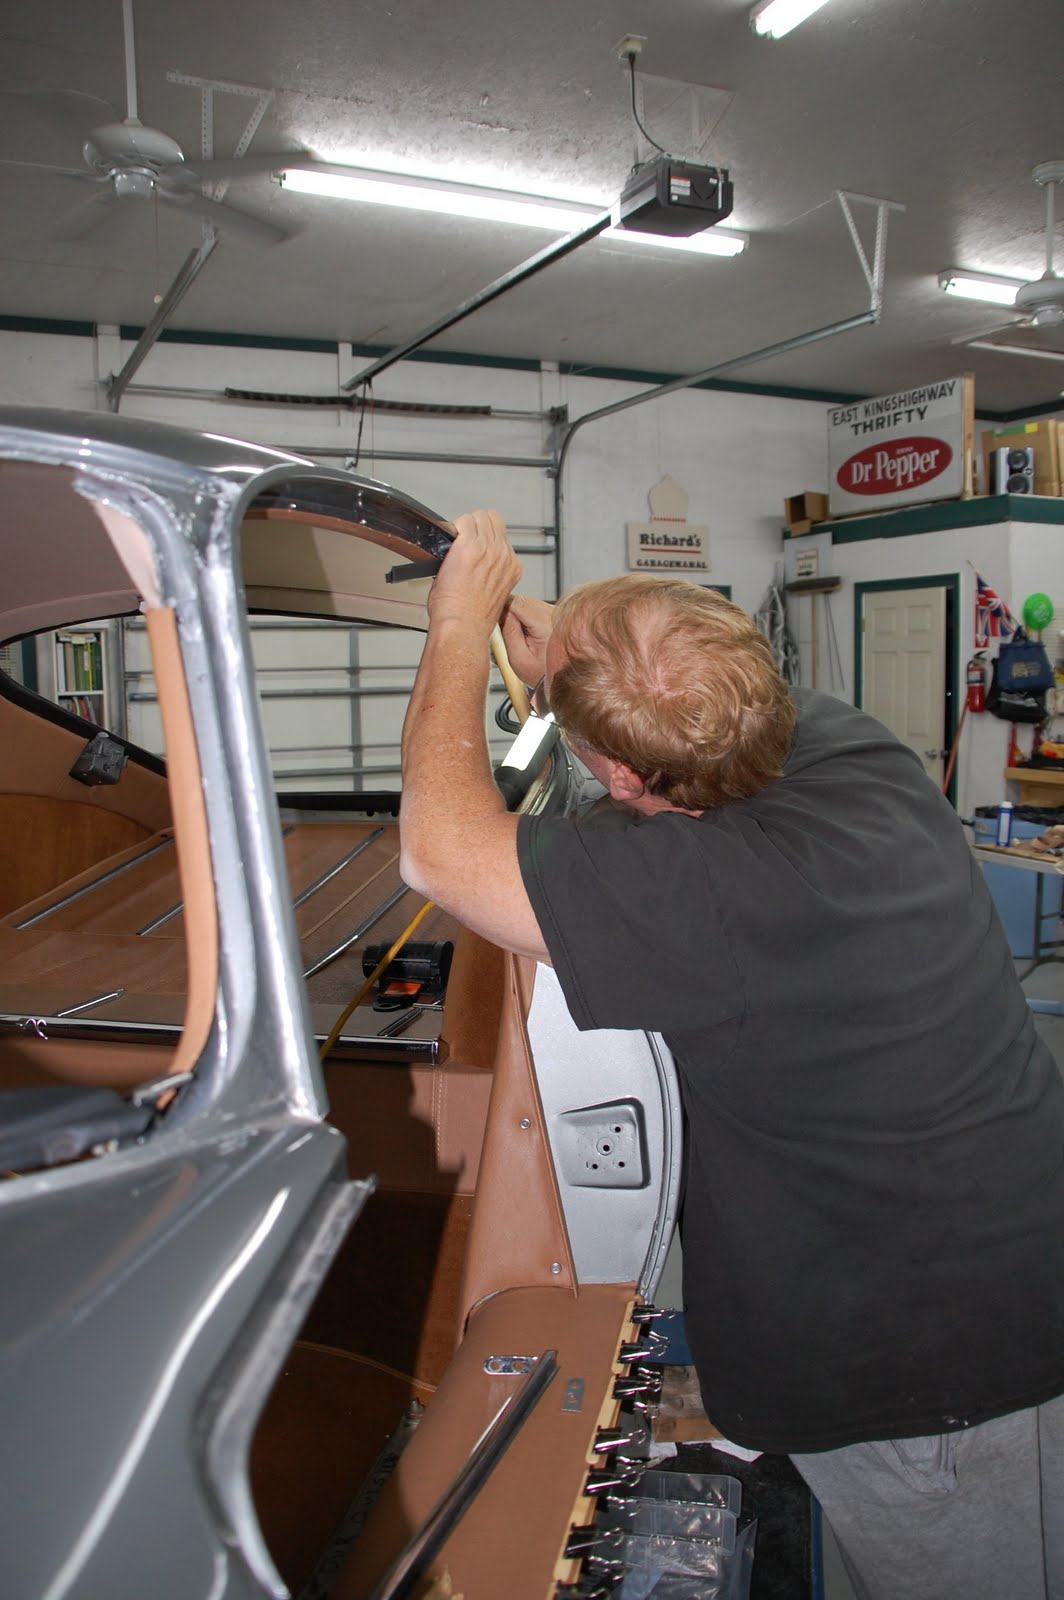
I'm very proud of how it's all going.  The cantrails are a tight fit, they are installed with small screws that come in from the outside, through the rail that holds window gasket on. 


Cantrail's in, "B" post is in...


Next came the "B" post, that is the chrome piece that divides the door window and the rear quarter window.. The quarter window hinges on this post. I first had to install the rubber gasket before we could put the quarter windows in.  There is a rail that accepts the "T" shaped edge on the gasket.  It's not exactly easy to get the rubber squeezed into the rail, but as with most of this stuff, with a little practice it gets easier.
Rodney, looking for the latch's screw holes.

Quarter windows installed
Once this was done, Rodney and I were able to install the quarter windows.  This actually went fairly smoothly.  Getting the rear latch on was a little more tricky.

Good ol' Rodney voluntarily climbed in to help mount the latches.  These windows swing out at the rear to allow for some ventilation.  He was a little tentative about poking a few holes in the newly covered wing panels but I convinced him to poke away.  I held the glass.  It didn't take long and we (Rodney) had the latches mounted and operating flawlessly. 


This had been our goal for the evening but it went so well that we decided to press on.  I had been dreading installing the glass in the rear hatch.  I had never done anything like that.  We decided to tackle this little task... kinda like the blind leading the blind.
Whew!!!
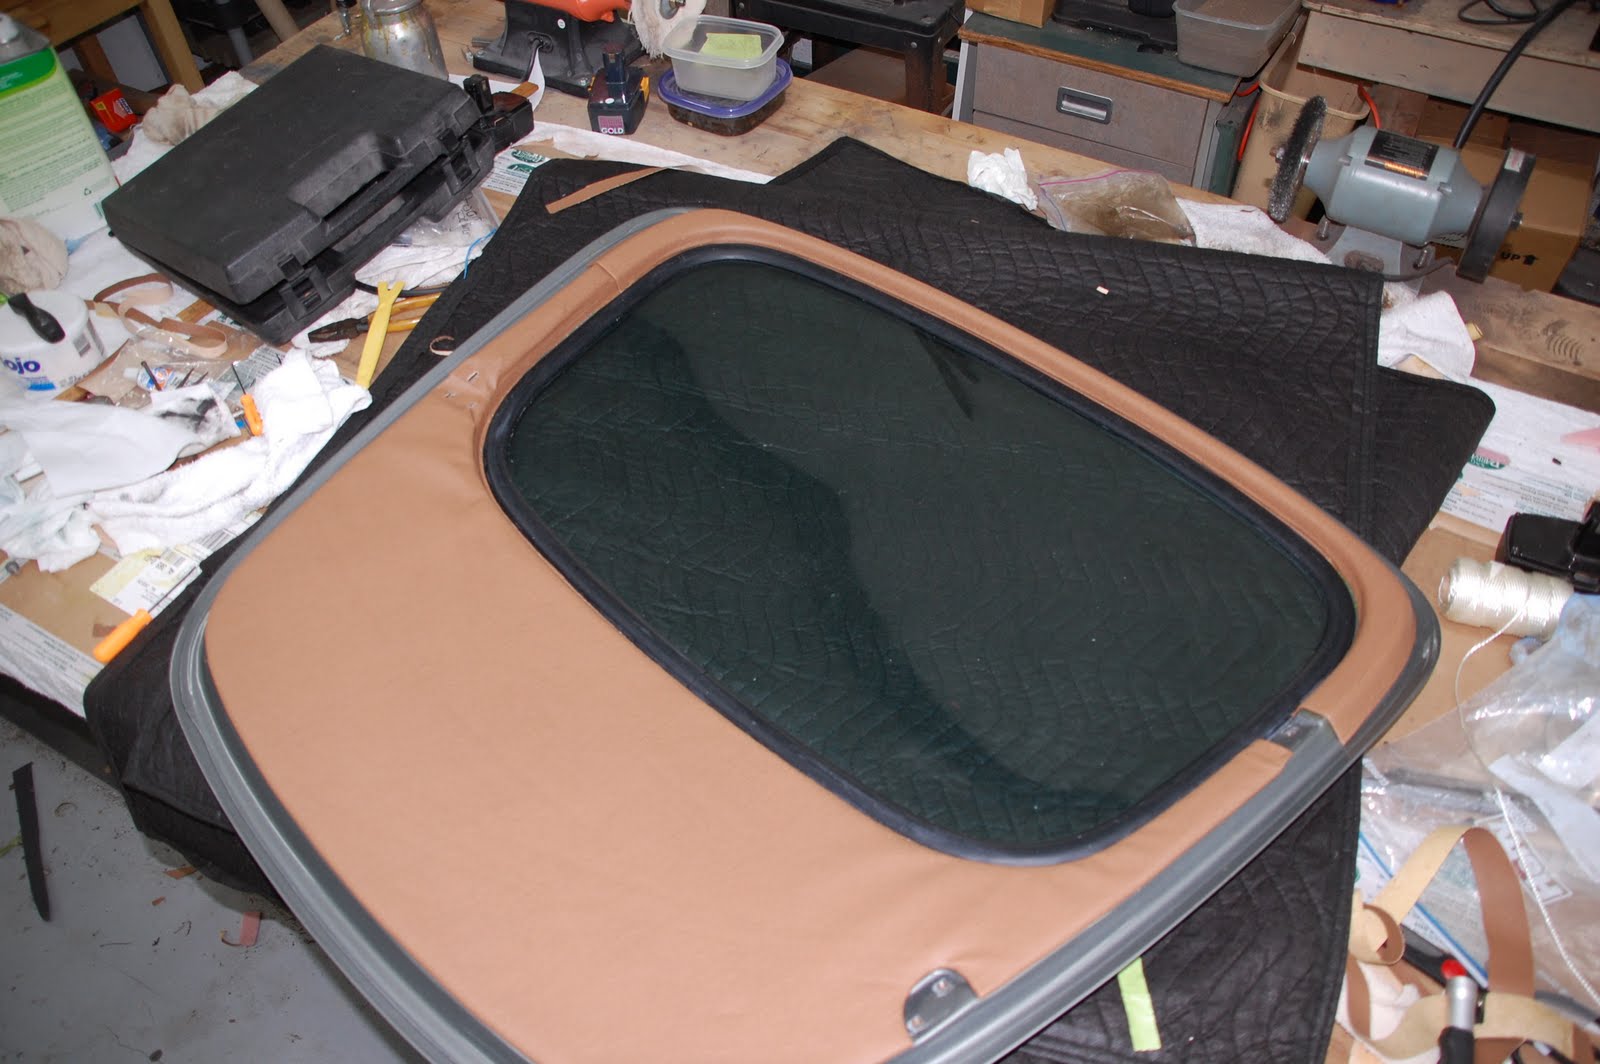
I put the rubber gasket surround on the glass and then ran a piece of nylon cord around into the grove that fits the opening in the rear hatch.  By doing this, it will allow me to put the glass over the hole in the hatch and pull the string and thereby forcing the lip of the groove in the gasket onto the edge inside the hatch.  I guess I would have to just show you, it's hard to explain, and harder to do, but we got it done, miraculously without breaking the glass or scratching the new paint on the hatch.


Gojo = good slickum

Next came the rubber insert that squeezes into a slot in the rubber gasket.  This spreads the gasket out, holding it securly in place.  Installing it is a tedious job, but once you get the hang of it and using a generous amount of Gojo on the rubber for lubrication makes it go a lot easier.
The helps keep me from scratching the paint


Next is the chrome trim, it's two half moon shaped pieces that surround the glass.  It has to slip between two slits in the gasket and is then held in place by these slits. It really helps to have a second pair of hands when doing this because just when you think you have one end in, the other end tries to jump out.  Creme Gojo also helps with this step, along with a right angled pick of some sort.


The rear hatch is nearly complete
We stuck on the chrome Jaguar emblem, stepped back and admired our work.  It was a major step in the restoration process completed.


We did a test fitting, got the hinges all aligned and called it a night.  I broke out my bottle of 18 yr old Single Malt Scotch and poured us a drink.

While we were enjoying our Single Malt, we started looking at the vinyl covering and fitting it to the inside of the hatch.  It was immediately apparent that we needed to take the hatch off to cover it.  We made plans to do this the next day.


When Rodney arrived the next day, we removed the hatch and prepared to do the upholstery.  The panels came to me pre-covered and fit nicely.  I had to install the clips that snap into the holes on the hatch interior.  Then we glued the upper part onto the top of the hatch and let it set up for a while


The vinyl pieces needed a good bit of trimming (Rodney cringes), and then it had to be tucked under the rubber seal!?!?!?!?  How the heck am I going to do this?  Well, turns out that it wasn't quite as bad as I thought it would be.  Using the same right angled pick that I used on the seal earlier, along with a plastic chisel looking tool, I managed to get it tucked in without too much of a struggle. I then painted the latch.  Once it's dry, the hatch will be done and installed for good, I hope.  Then Rodney and I polished off the last of the Single Malt.