I have finally gotten the chance, and built up the motivation to post another entry to my blog. It's been over a week since I have posted any of my progress. It hasn't been an incredibly productive week either. There have been a number of things that have interrupted my rhythm. I spent a day and a half last week in the edit suite working at my regular job. Then on Saturday I rode to New Orleans with Mike Darby in his fabulous MGA 1600. It was a gorgeous day and the New Orleans club put on a spectacular show with 143 British cars on the field that included 10 MGAs and no less than 7 Morgans, along with a multitude of other marques. There are a ton of pictures on the SABCC Picasa site
http://tinyurl.com/6cdh7ky . So, in spite of those little asides, I did actually get some work done on the E-Type. Let me point out here to some of my less "internet savvy" friends. You can click on the small pictures in this blog and see the full sized picture..
As you may remember, I had gotten all of the parts for the pedal box cleaned up and clear coated. Well, now I have it all put back together, and it would be in the car by now but I am waiting on a new seal to arrive. It goes between the back of the booster and the bulkhead. It's foam and about the size of a Krispy Kreme doughnut (glazed, of course). I'm not too sure exactly what it does, but in belongs there so I'll wait till it gets her and put in a new one. The old one was practically dust when I took it apart.
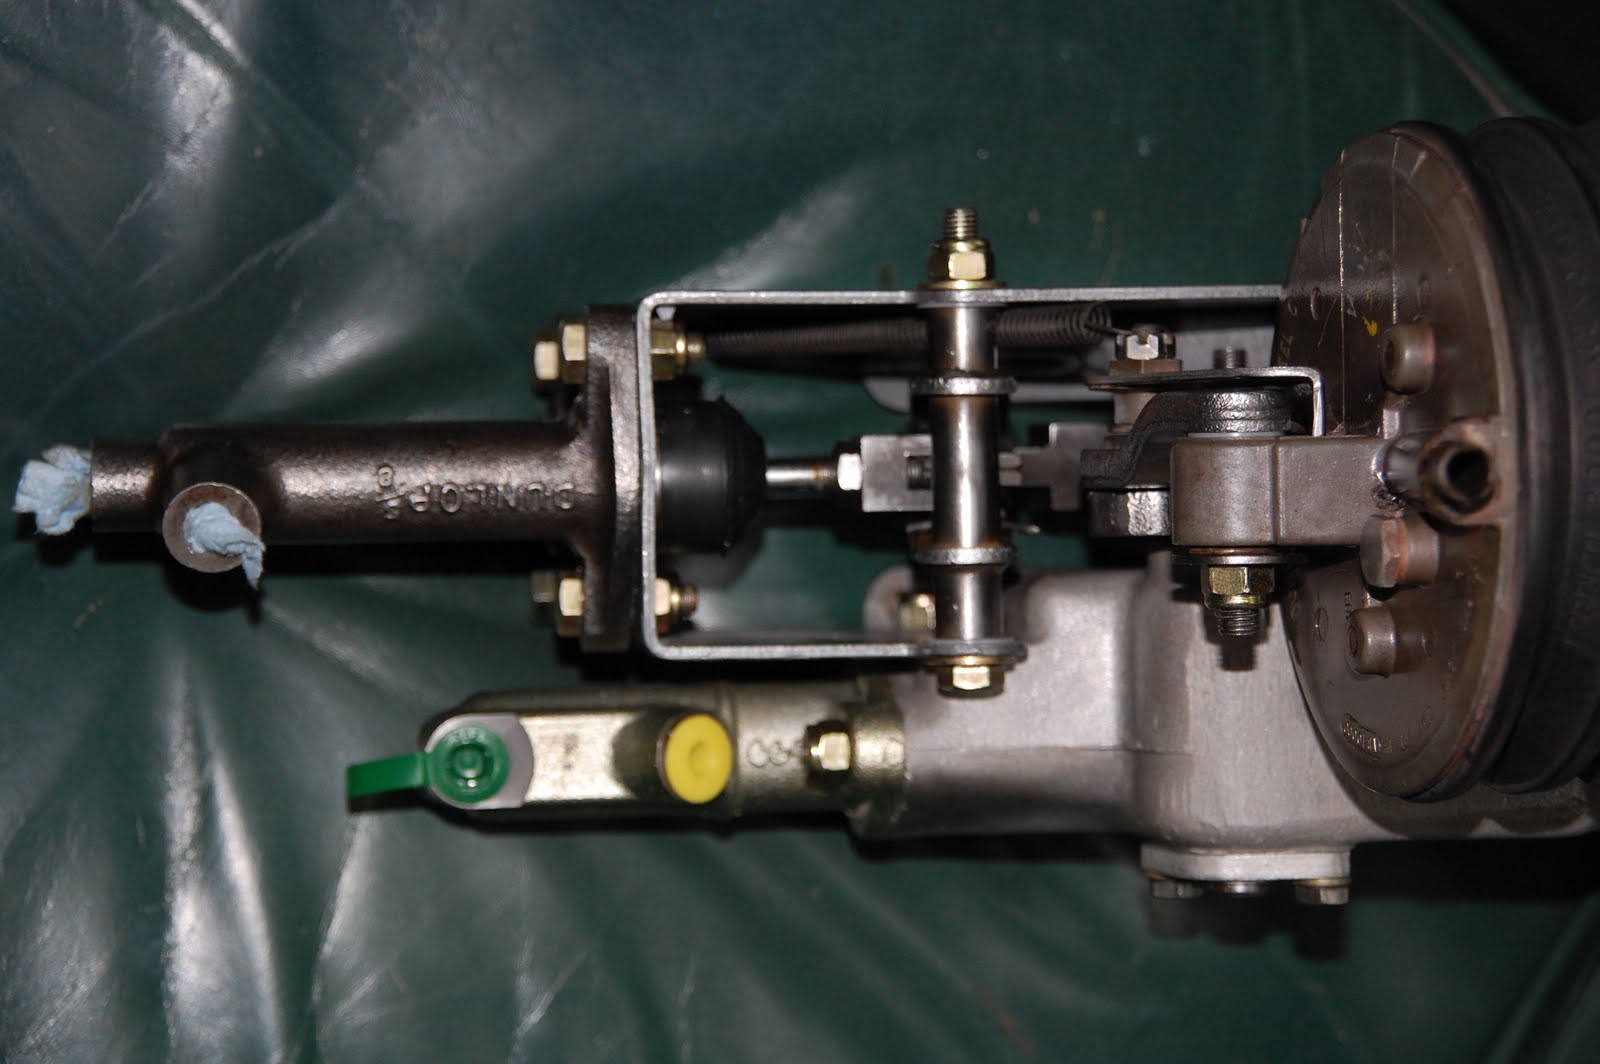
Now when I tell you this was like putting together a jigsaw puzzle, I'm not kidding. I don't know how many parts there are, but there are some very strong springs that have to be fitted to help return the clutch pedal, a big fiber washer that must fit in between the pedals and then you have to line up a shaft and shove it through, guessing where the correct spline lineup would be. If the 2 pedals don't line up, you have to take it back apart and try it again. I was lucky, I only had to take it back apart once. I rebuilt the two brake master cylinders (one operates the front brakes and one operates the rears) and I replaced the clutch master cylinder with w new one.

While waiting for the booster seal to get here, I directed my attention back to the instrument panel and the wiring. I completed wiring the center instruments, installed the driver's side instruments containing the tach, speedometer and a few levers and lights. That went well and I got it installed.
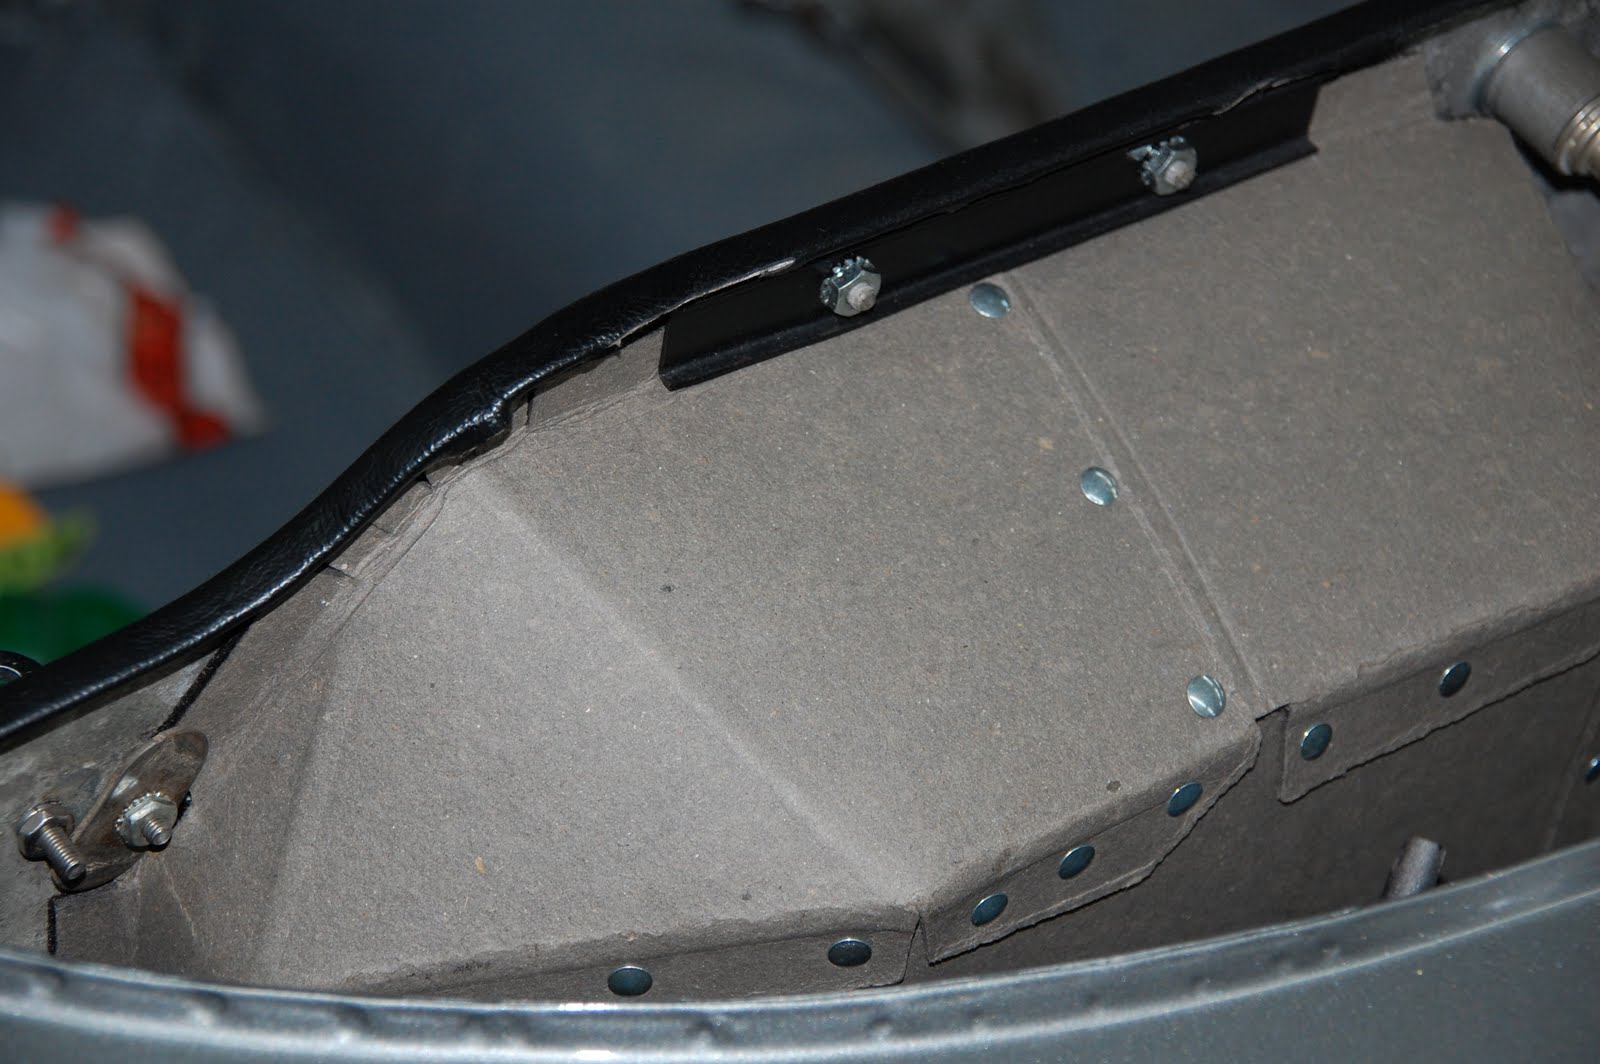
Then I put in the passenger's side. This first involved installing the glovebox. I had bought a new one of these. It's basically a heavy cardboard, folded and riveted into shape. Oddly enough, it is only held in by a small bar bolted across the top fold. I saw a spot where I could add a little more structural support, so I got an oval body washer and bolted it to one of the screws that holds the passenger handle on.
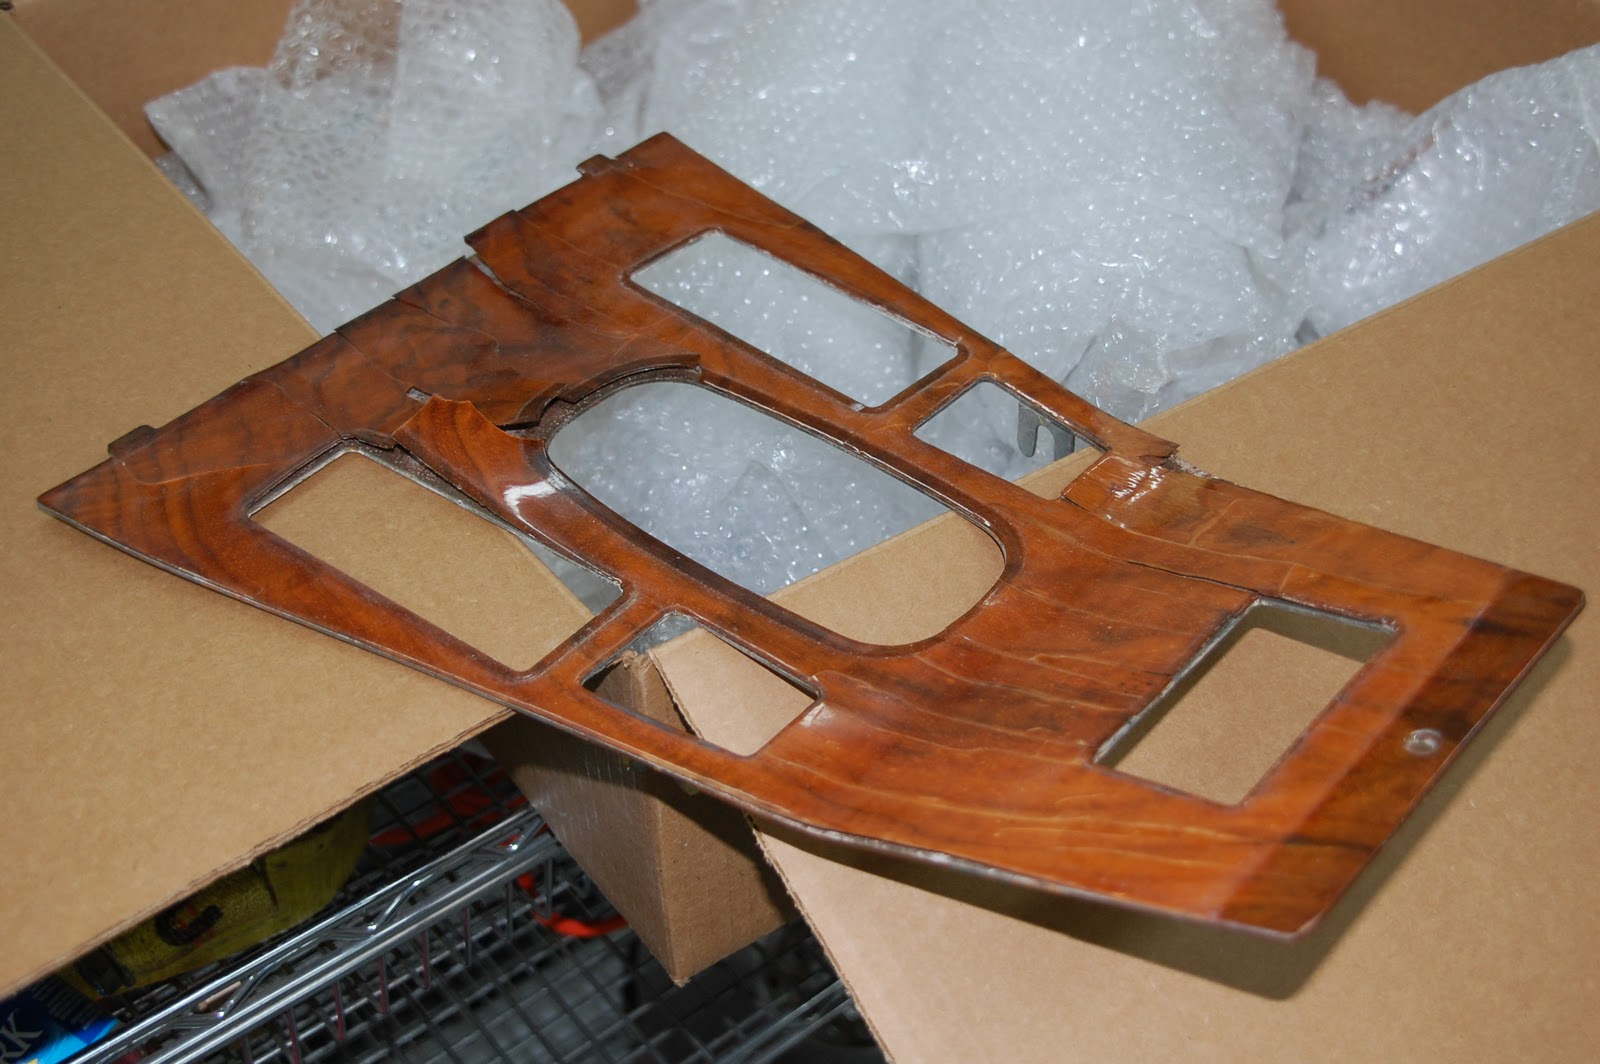
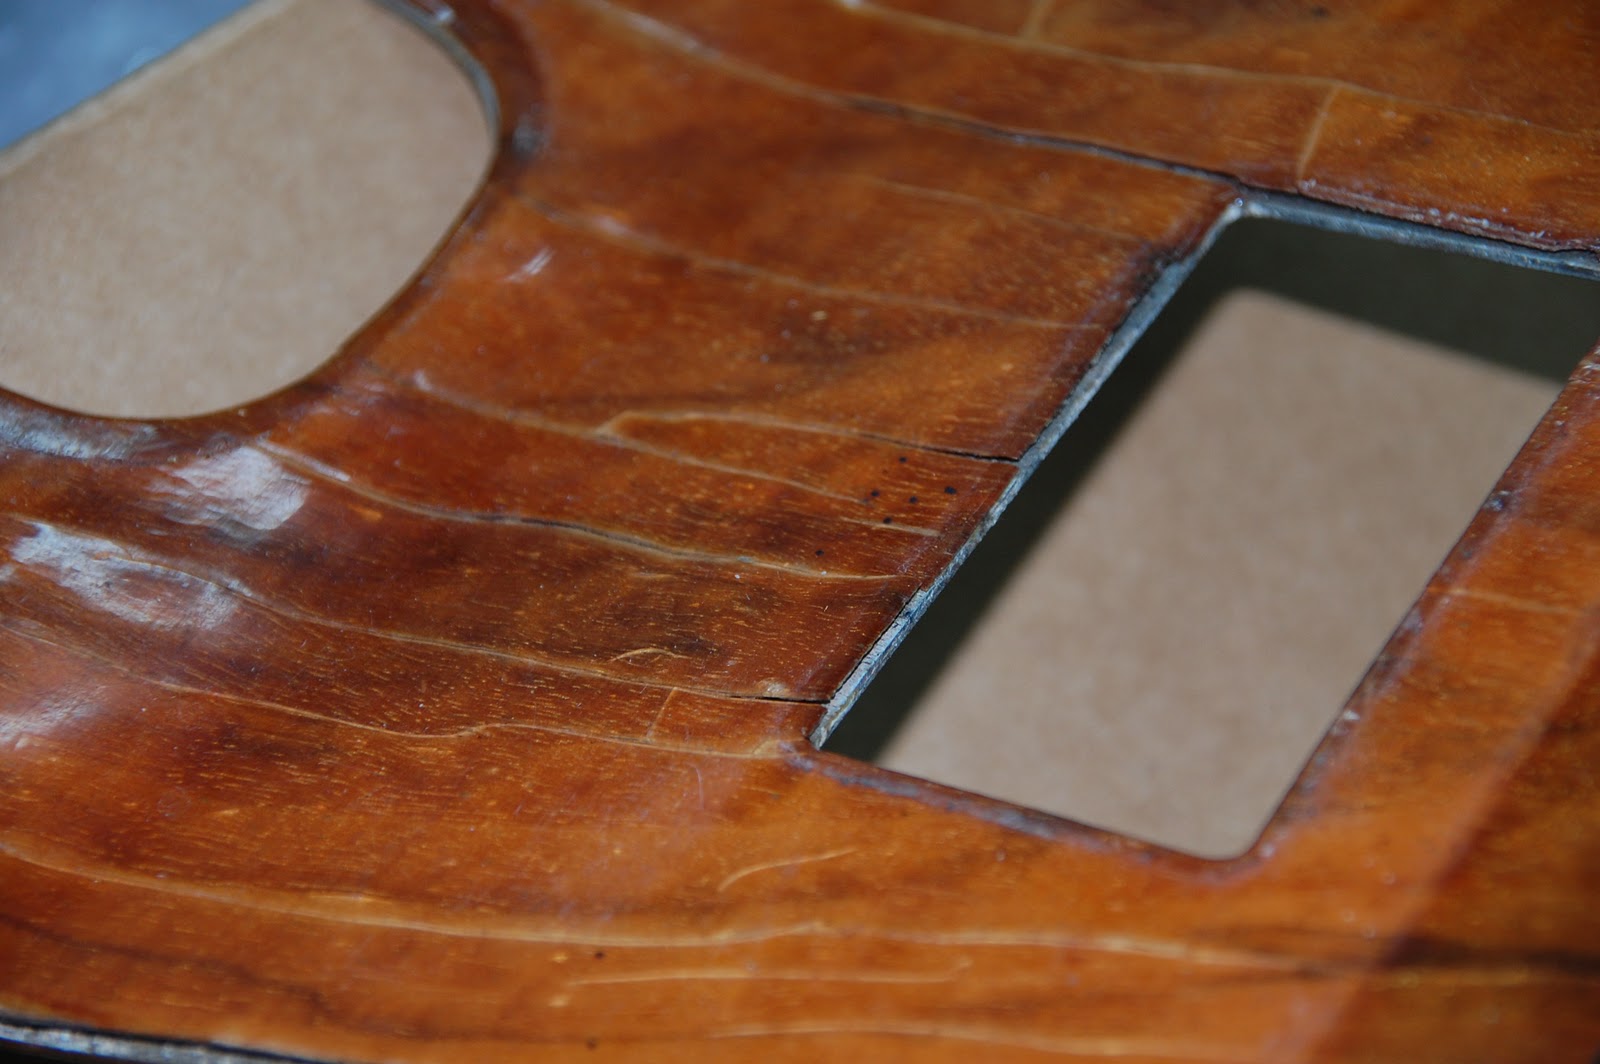
So now the dash is in all except the top dash pad. My good friend Mike Darby has convinced me to recover it. Let me point out here that when I started this project, I had no intention of taking it anywhere near this far. But the dang car looks so good now that every thing that I thought would be "good enough" is now not and needs to be recovered, revitalized, reconditioned or replaced.... Sigh.... Fortunately most of the stuff I need has already been purchased over the last 3 years.
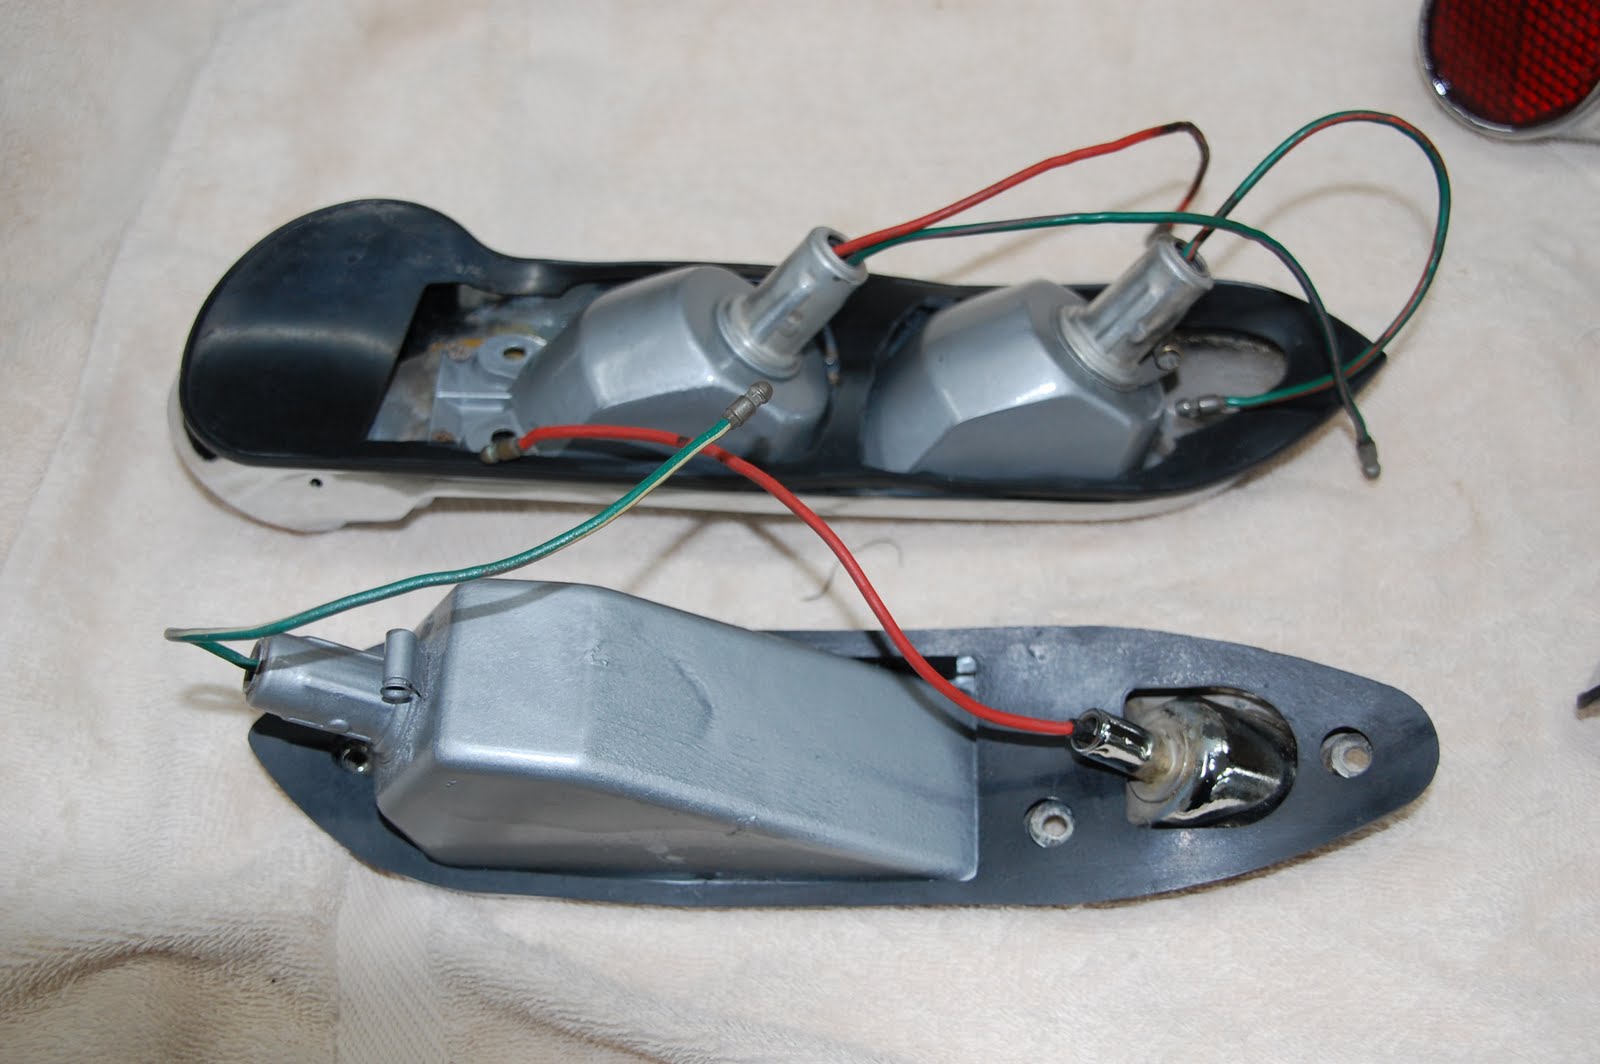
Also, about a week ago I got the stuff back from the chrome plating shop. It included the parking lights, brake/tail lights, handbrake, mirror mounting rod, rear hatch prop rod, and a few other odds & ends.


I reconditioned the light fixtures and have installed them into the chrome housings for the parking and brake lights. I have most of the fiddly rubber gaskets spot glued onto the housings so I can then put them on the car. I had to replace a couple of the innards of the light fixtures on one of the brake lights. I also have purchased all new lenses. Hopefully they will all be going on the car real soon. Then it will start looking even more like a car.

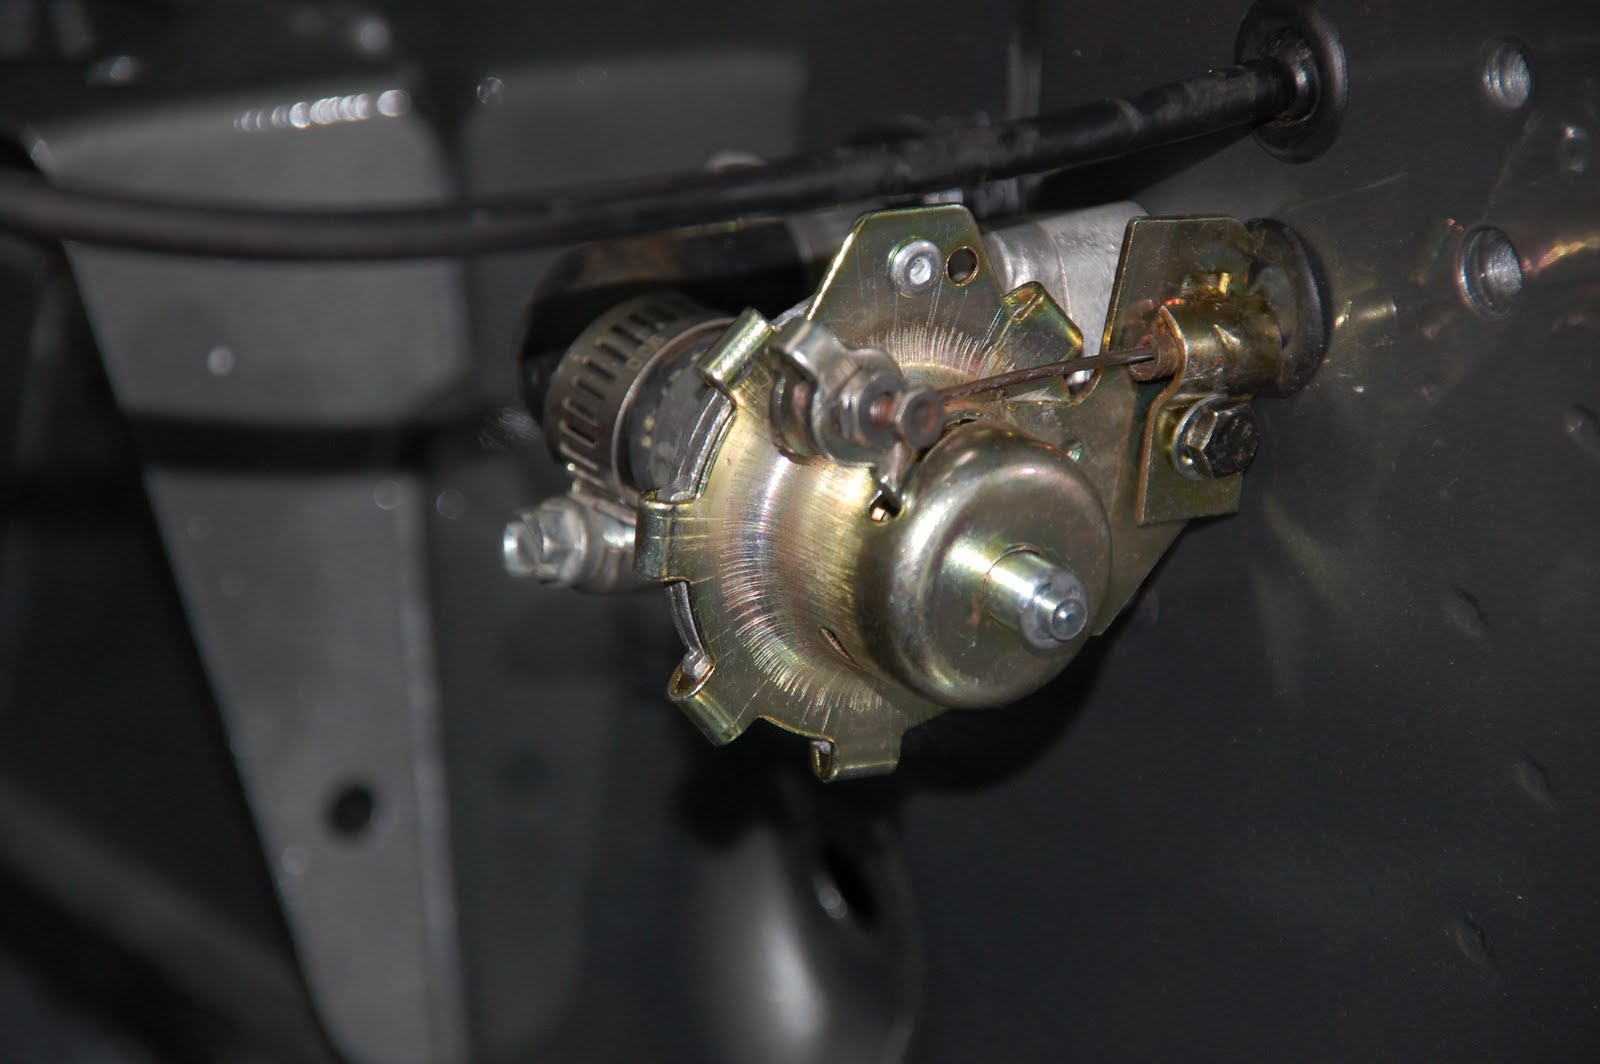
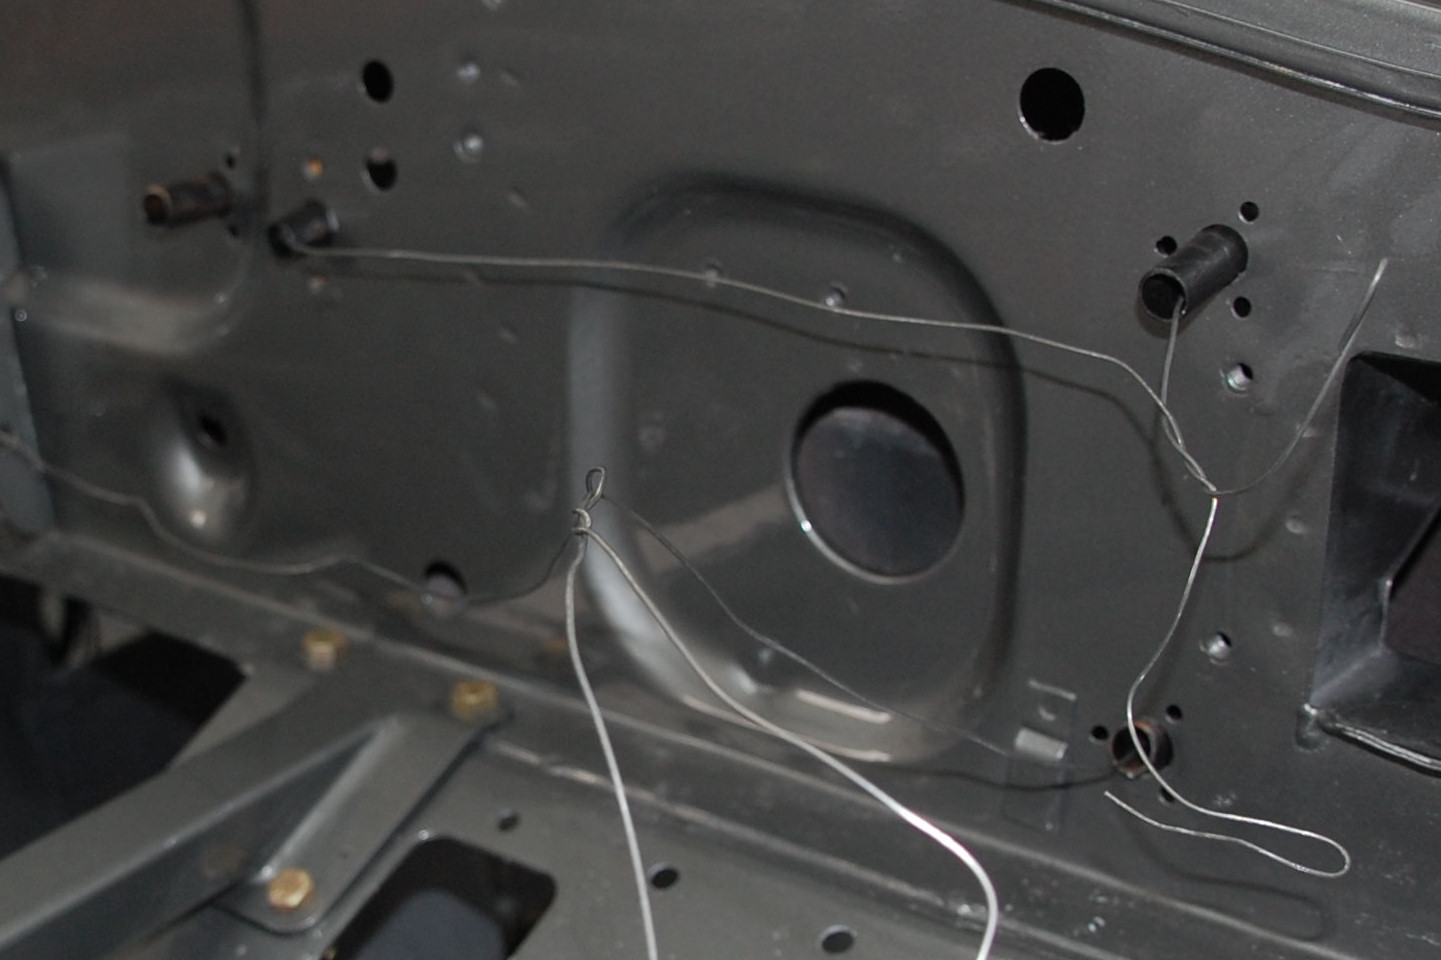
Just this afternoon, I got the heater valve installed on the bulkhead. Yeah, it's new too, not too expensive... and from what I understand, probably not as functional as the original but it looks good. If it gives me much problem, I still have the original one and it CAN BE REPLACED!
I won't be getting much done on the car tomorrow, but that's OK. Tomorrow morning I'm taking my 90 yr old dad down to the Gulf to do a little sitting, watching the water (which he loves), enjoying the cool breezes and having a good lunch of crabmeat canapes at my sister's house.
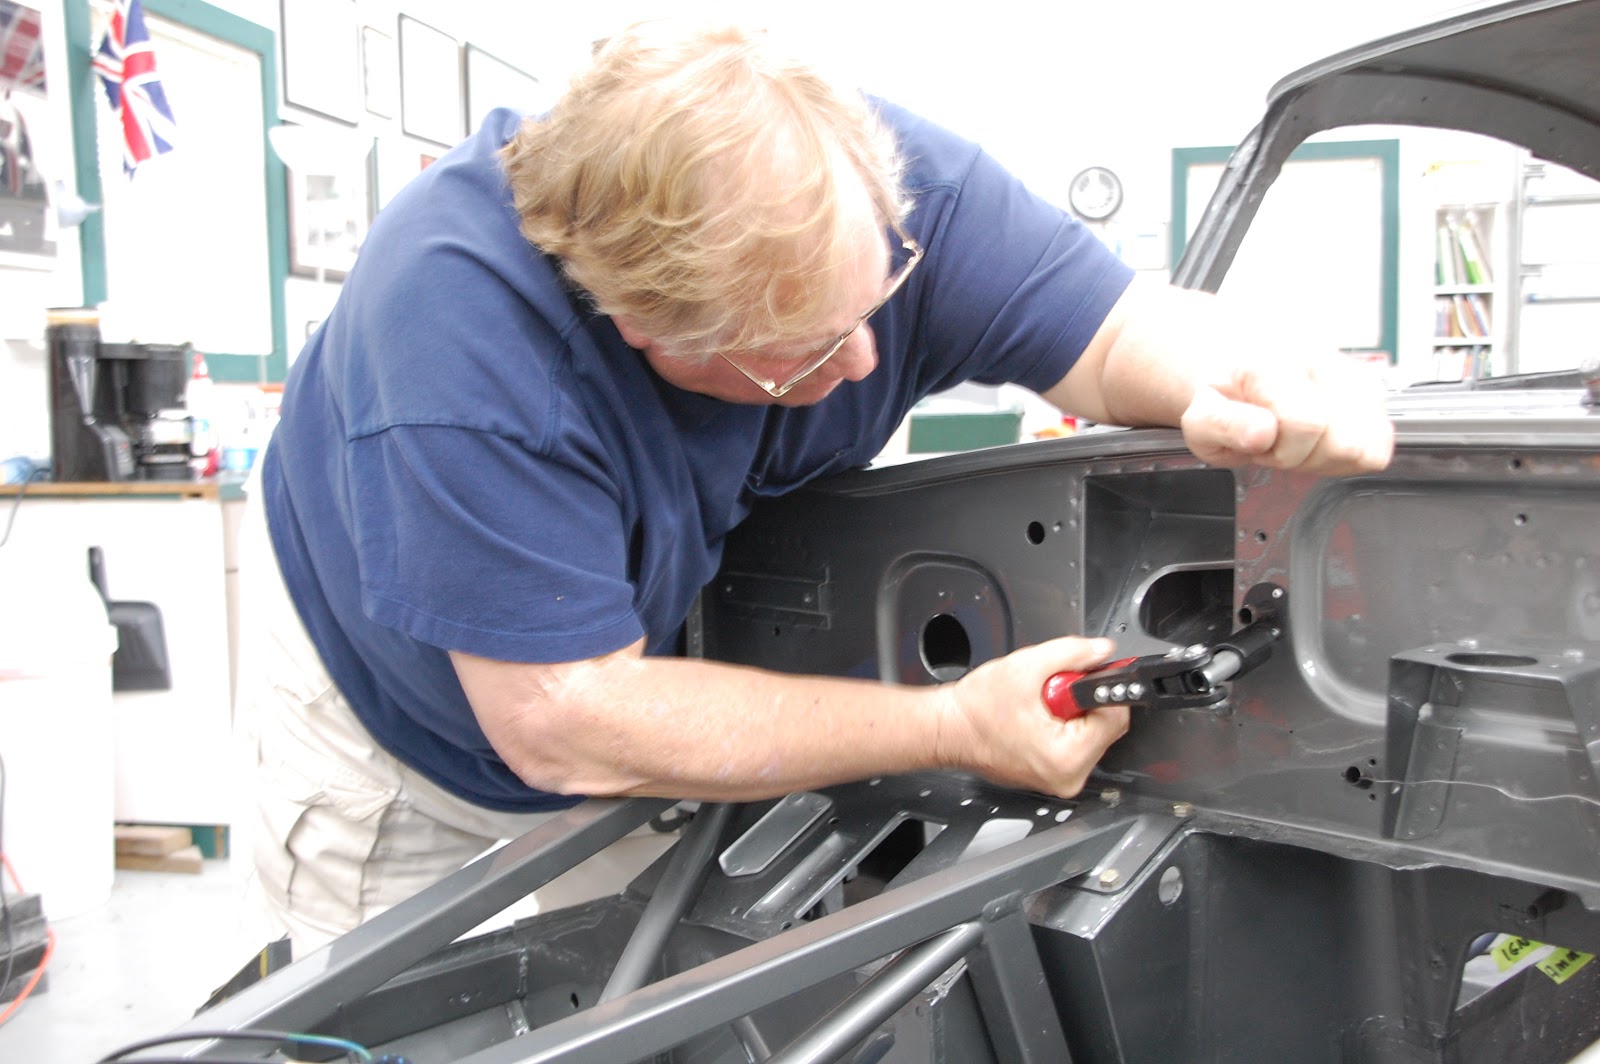
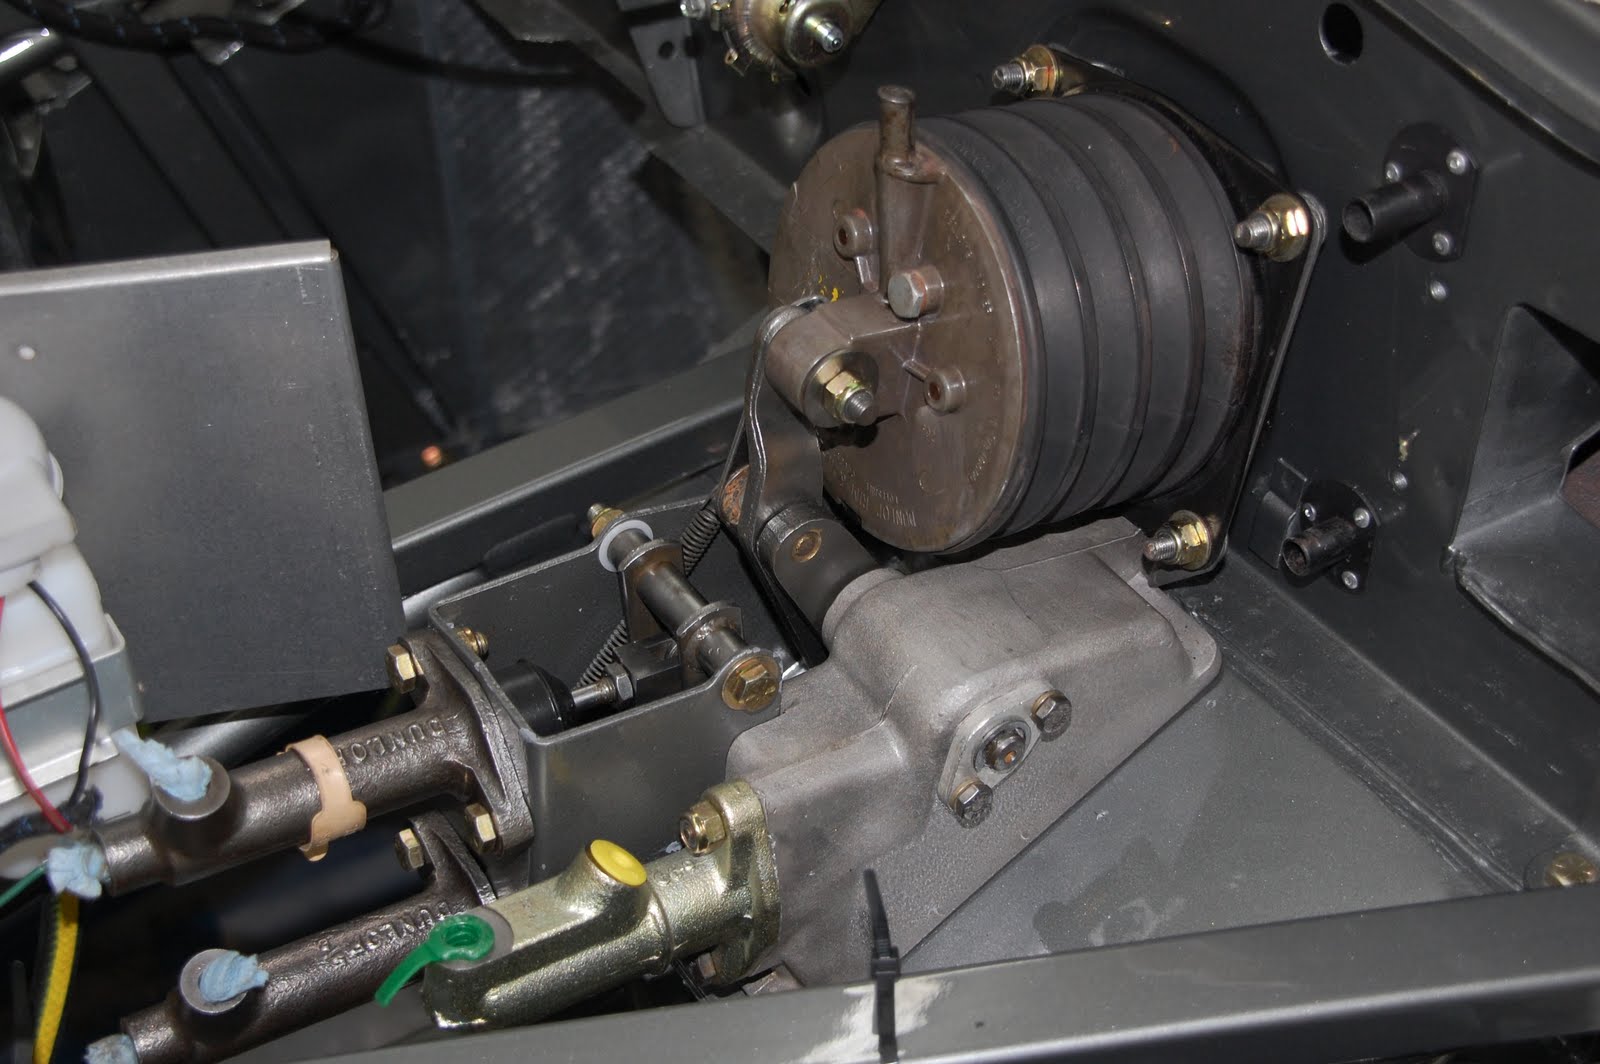 I finally got the E-Type's pedal box installed. I was waiting on the "servo seal" to come. I had ordered it from one of the usual parts places and it had been back ordered, so I called the other usual place I order from and they had it. When it came in, it was something like $16.00 and $8.00 shipping. I wish I had taken a picture of it to post here. It was, and I'm not lying, a piece cut off of what is known in this area as a "water noodle" A noodle is a long round plastic/foam tube that kids play with in the water. I could have gotten one at the Dollar Store up the street had I known. My car didn't have one when I took it apart so I wasn't sure of what it consisted. I figured it was some kind of special seal. Needless to say, I was wrong. Anyway, I stuck the cut off piece of water noodle on the back of the brake servo and got it mounted to the bulkhead. Now I have to assemble the accelerator peddle and it's pedal box, it should be pretty simple. I was going to do it right after I finished with the brake box, but then I remembered that the steering column went through this box and I had not yet refurbished the steering column. That I will finish in a few days.
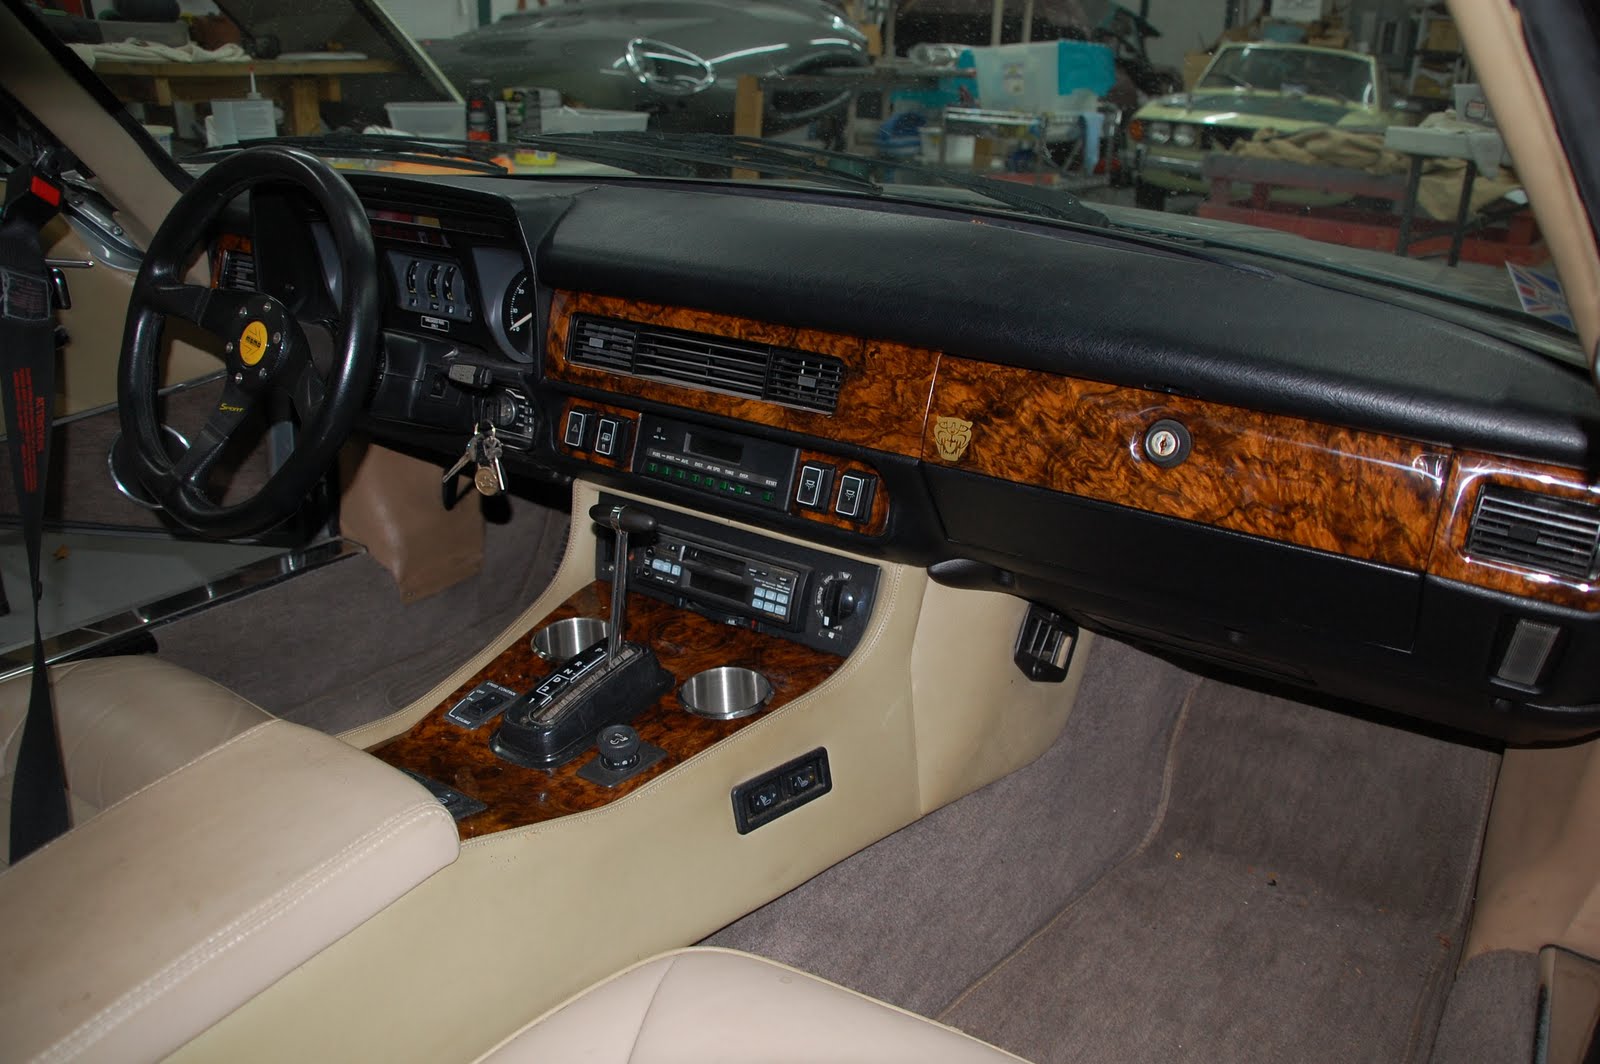


 And he also embossed the Leaper logo in the door panels and a Growler on the glovebox. I'm extremely happy with the finished product.


